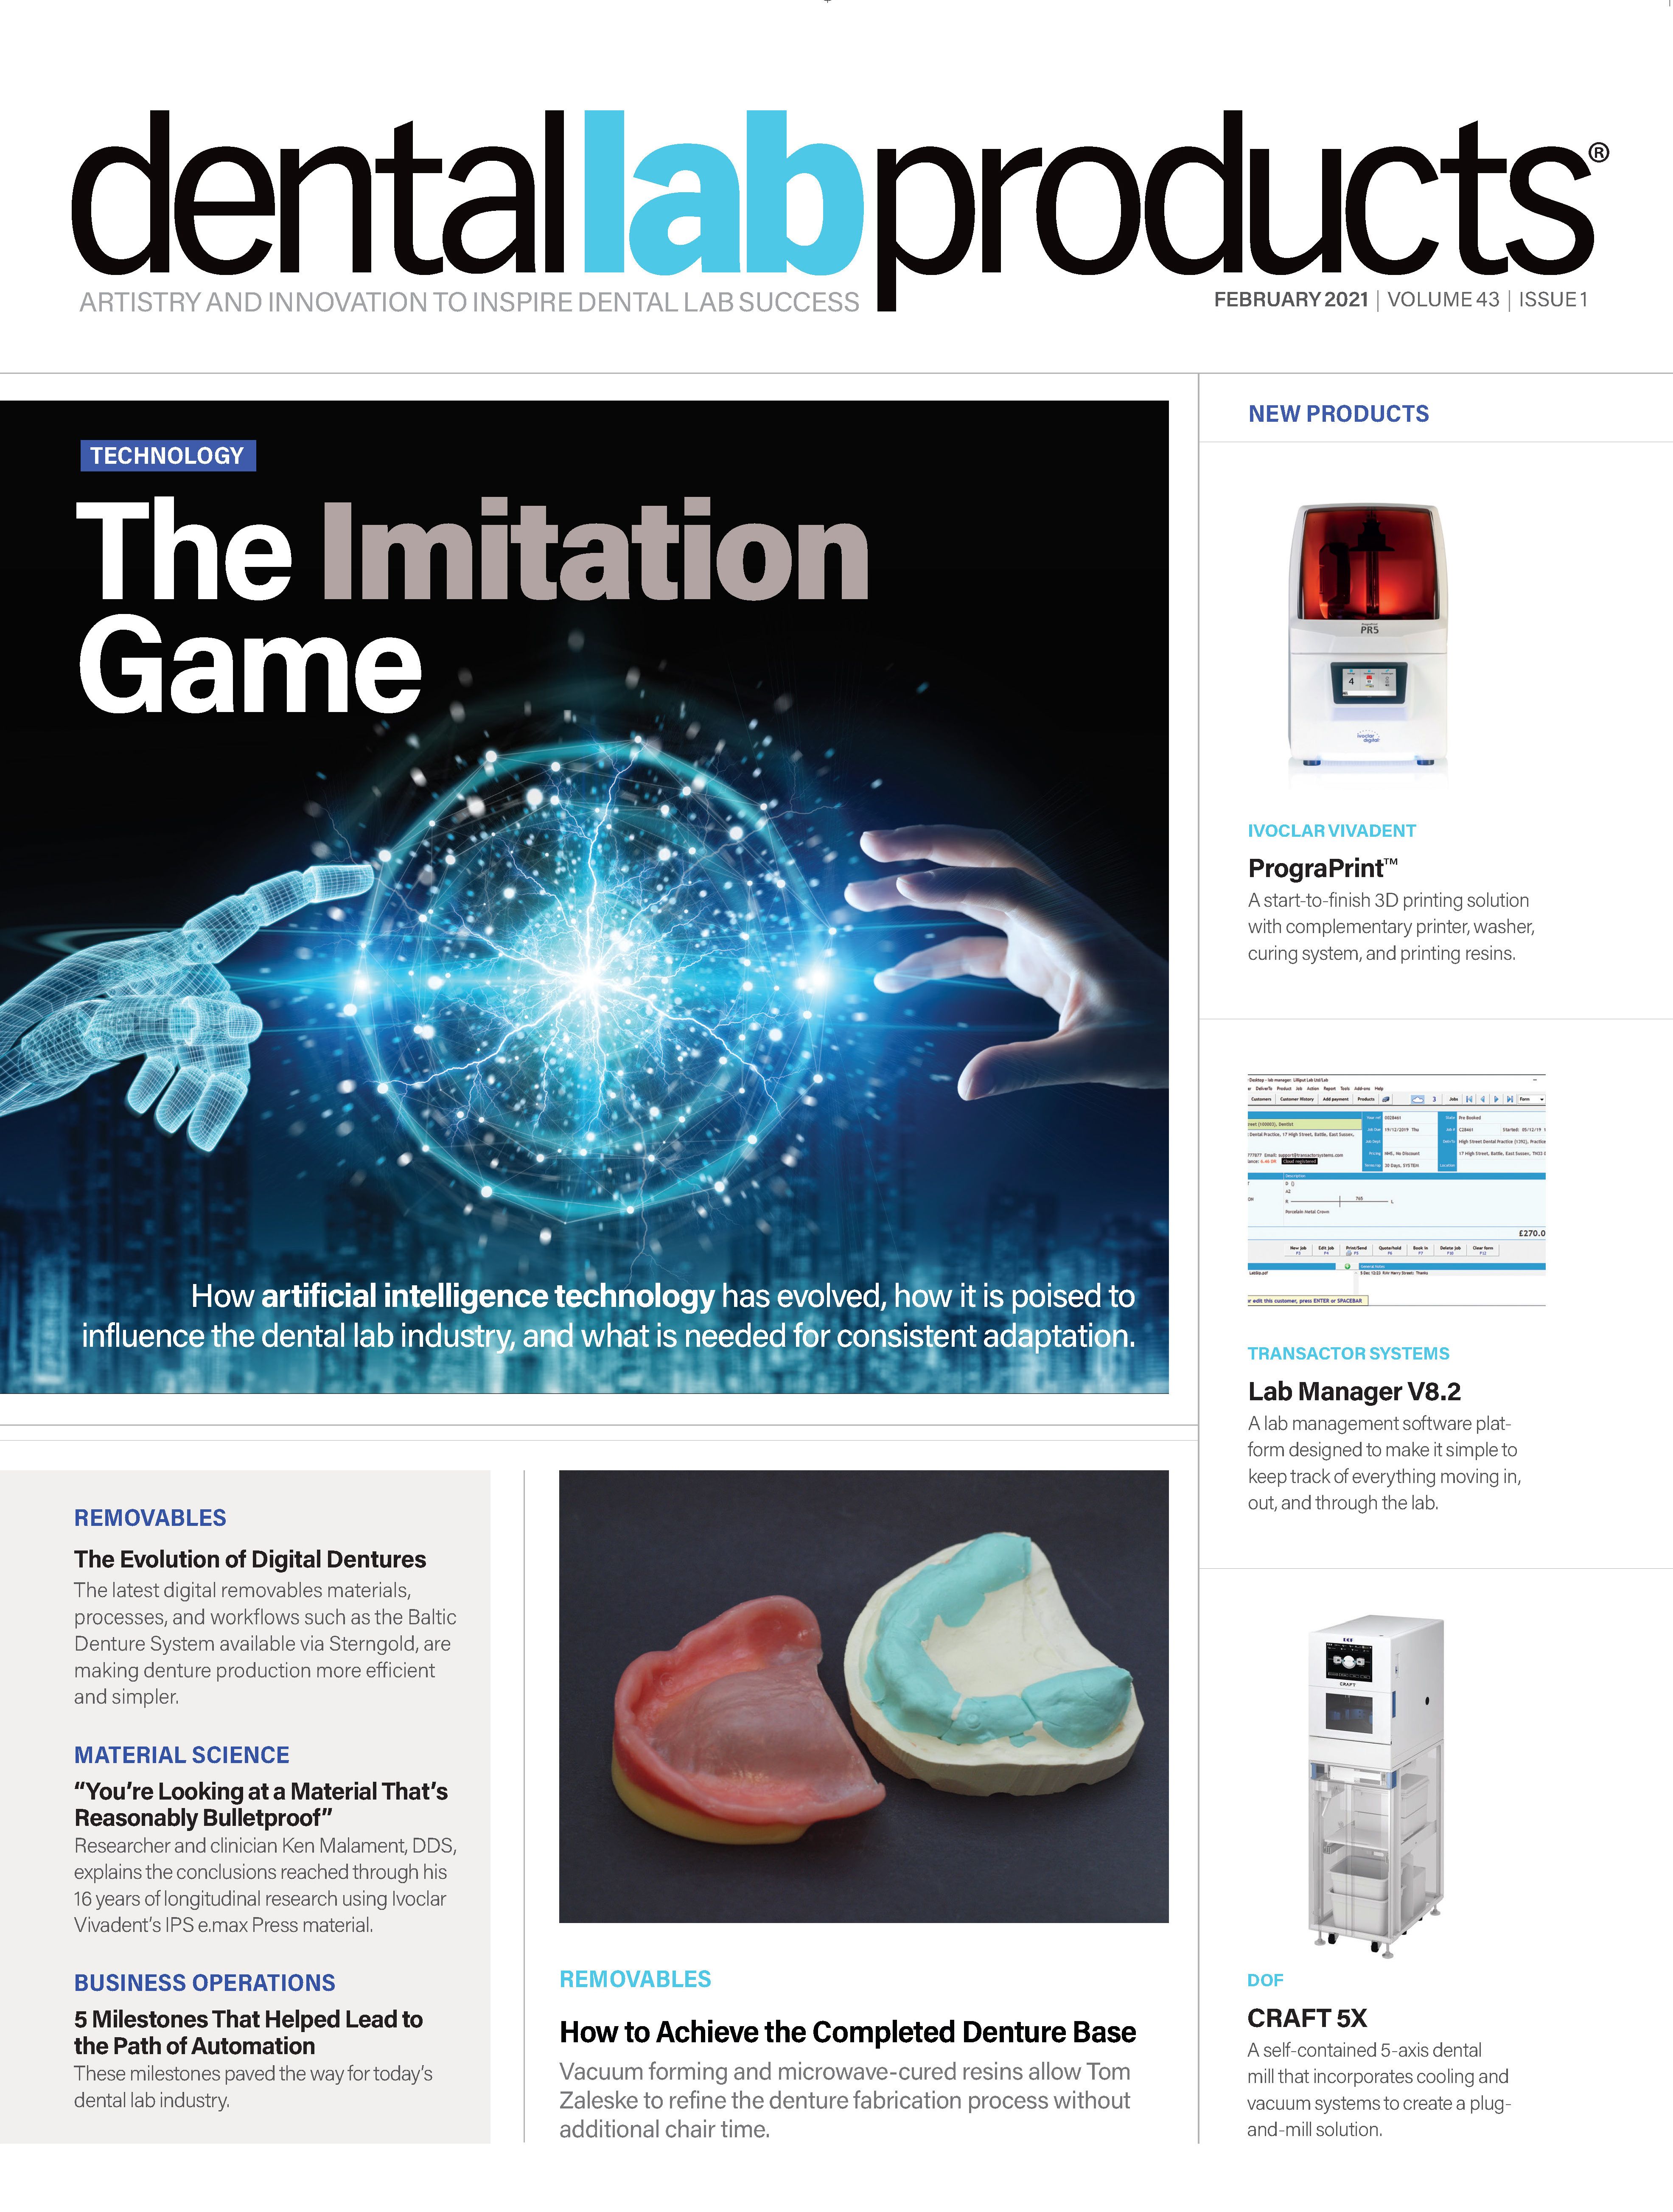
How to Achieve the Completed Denture Base
Vacuum forming and microwave-cured resin allowed one lab to refine the denture fabrication process without additional chair time.
What if a denture fabrication product could offer many clinical benefits without any change in clinical time or technique, such as these below? (Figure 1)
- Duplicates and maintains border roll clinically established by either functional or compound bordering of the impression.
- Produces a uniform thickness of the base that follows the palatal contours in the final prosthetic.
- Aids in communicating and evaluating expected fit to the patient at the beginning of treatment rather than at the delivery of the dentures.
- Illustrates outcome and provides an avenue to offer treatment options prior to patient disappointment.
- Provides a final fit for baseplate records. Fewer missed registrations due to looseness of base as undercuts are maintained in baseplate.
- Fewer postdelivery adjustments as comfort issues are addressed at baseplate and try-in stage.
- Any adjustments made are final as the base becomes part of the completed denture.
In order for us to justify implementing a technique or product to offer, we must establish the benefits for ourselves and our dental professional clients.
In 1988, I was introduced to a technique and product offering that eliminated several issues concerning the records and try-in appointments associated with removable prosthetics/dentures, which added no extra chair time.
Vacuum forming and the implementation of microwave-cured resins such as NATURE-CRYL® MC from GC America allowed me to refine the original technique in laboratory labor manufacturing time, uniformity of base thickness, and speed of cure to accommodate daily use and recommendation.
Fabrication instructions
STEP 01 Box and pour a definitive impression using WonderFormer from Dental Creations and Coecal™ Type III Dental Stone from GC America (Figure 2).
STEP 02 After the stone sets, remove it from the former and trim the model to provide a land area and minimal model thickness that does not intrude or destroy the vestibular area.
STEP 03 Next, vacuum form a .080 sheet of tray/baseplate polystyrene from Keystone Industries over model. Postforming thickness will present itself between 1.5 mm and 1.8 mm, which offers an ideal completed base thickness and rigidity in acrylic. The benefit of vacuum forming rather than waxing is a uniformity of base that follows the contour of the palate (Figure 3).
STEP 04 Trim the forming material to the land area leaving the vestibular molded area intact.
STEP 05 Invest the model in the lower half of a microwave flask, covering all but the polystyrene. Once hard, paint the land area of the investment with COE-SEP™ tinfoil substitute from GC America and invest the upper half of the flask (Figure 4).
STEP 06 Once the investment has set, remove the bolts and place the flask vertically in a dedicated microwave oven and irradiate for 1 minute at 500 watts. This creates steam that should release the flask halves (Figure 5a). Then remove the polystyrene from the model. If it is not soft enough to remove without damaging the model, flame brush the polystyrene with a blazer torch or similar and then peel off.
STEP 07 Coat both halves of the flask with COE-SEP or similar. Then, dry with warm air to speed up the process.
STEP 08 Mix NATURE-CRYL MC® from GC America to the correct powder to liquid ratio and allow it to reach recommended pack state (dough-like, not sticky or snappy). To avoid waste, I suggest halving the amounts recommended for a standard sized complete denture.
STEP 09 Trial pack the mold, trim the flash, and if possible, tighten the bolts while the flask is under a pressure of 1500 psi (Figure 5b). This maintains final closure pressure without release. The best compress for the microwave technique is a style that has a plunger press cap. This allows for cinching the nuts unobstructed.
STEP 10 Next, cure vertically for 3 minutes at 500 watts, remove it from the oven, and allow it to bench cool for 25 minutes. Submerge it in lukewarm water and then let it cool for an additional 20 minutes.
STEP 11 Deflask, polish and finish the base acrylic (Figures 6-7).
STEP 12 Adapt a wax rim following professional standard dimensions. Sticky wax works nicely to fasten wax against the acrylic (Figure 8).
STEP 13 Construct the mounting model by blocking out the major undercuts with PVS putty and pouring a stone base. This allows for articulation and easy repeated placement and removal of base from the articulator (Figure 9).
STEP 14 The base and rim are sent back for a records appointment and subsequent tooth try-ins (Figure 10).
A technique for waxing and processing on a completed base will be covered in my next article.
