My team and I work one-on-one with dentists and their staff to ensure they get high-quality images for accurate diagnosis. This happens during a dial-in process, where practitioners capture x-rays on actual teeth. We fine-tune the imaging software filters to create diagnostic images tailored for optimal quality. After viewing thousands of x-ray images, we consistently see 3 common mistakes.
No. 1: Distance
Clinicians often position the x-ray head too far from the patient. Think of an x-ray head generator like a shotgun: The farther you are from the target, the more spread out the x-rays will be. This can cause light images because of the increase in the source-to-object distance. It’s important to place the x-ray head close enough to the patient’s face during exposure.
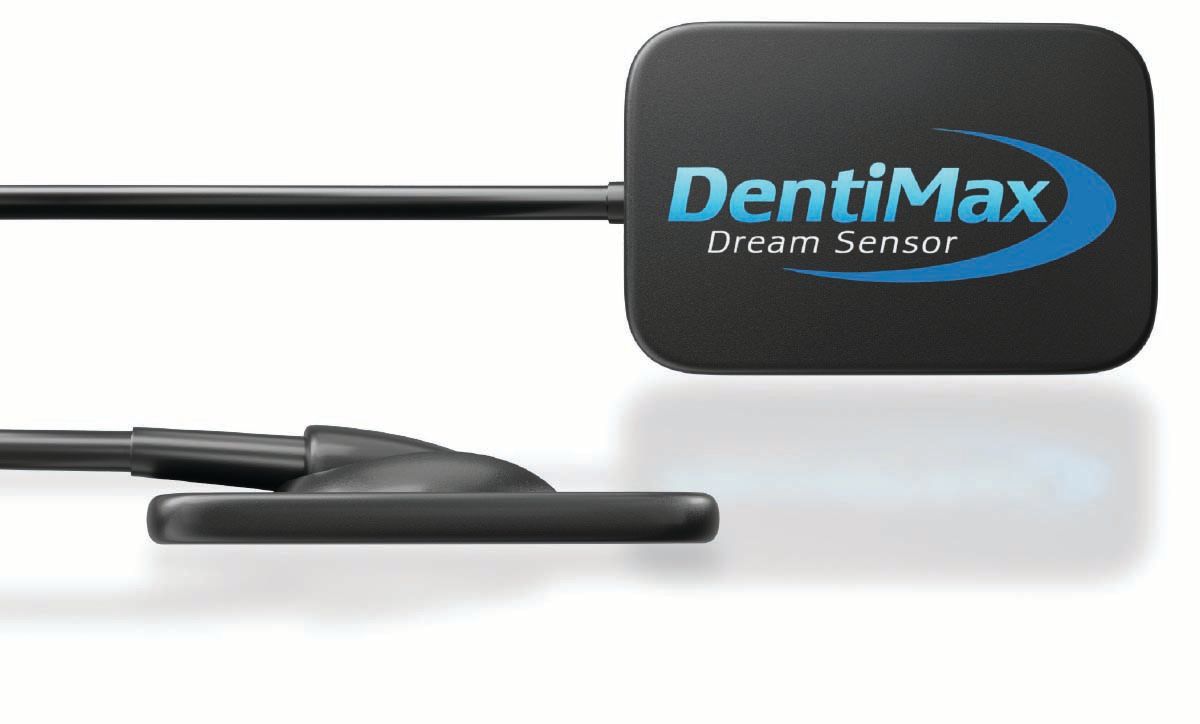
Dream Sensor
The DentiMax Dream Sensor is known for delivering precise diagnostic x-rays at the highest resolution possible. It has received very high marks in clinical reviews, including a 96% in its Dental Advisor clinical evaluation. The sensor shows extraordinary anatomical details with reduced noise and improved tissue contrast for accurate diagnoses. It also provides a large active image area of 900 mm², allowing you to capture more teeth in the x-ray. The sensor has open compatibility and works with most imaging software and dental sensors on the market.
DentiMax
800-733-6820
dentimax.com
To do so, ensure that your cone placement is consistently the same distance from the patient’s cheek for every shot. Try to get the x-ray tube as close to the skin as possible. When you need to aim at a larger angle to capture the apices of a maxillary molar, don’t move the cone too far away from the patient. Consistency with placement distance is the key to dependable image contrast.
No. 2: Exposure
Another common issue is underexposed x-rays that look too light and grainy. The most noticeable symptom is increased noise, which leads to grainy images with uneven patterns or streaks, hindering the clarity of specific details. Moreover, the radiographs appear excessively white or light when they are underexposed, indicating that the x-ray beam did not penetrate the density of the patient’s anatomy.
Overexposure of the x-ray makes the images look too dark with blooming or cervical burnout. Burnout will be seen as black areas that creep into the teeth in the x-ray. Extreme cases can even hide entire teeth in the x-ray.
Neither under- nor overexposed images can be properly fixed within the imaging software; the data were corrupted when captured. The most common cause of both issues is from a single exposure time setting being used for all x-rays and for every patient. Refer to your sensor’s recommended settings for proper exposure settings.
No. 3: Rushing
Rushing to complete x-rays can stem from various factors, such as a busy schedule, patient discomfort, or familiarity with the procedure. However, not allocating enough time to take x-rays properly can compromise the quality and accuracy of the images obtained. Inadequate positioning and missed angles commonly happen when rushing.
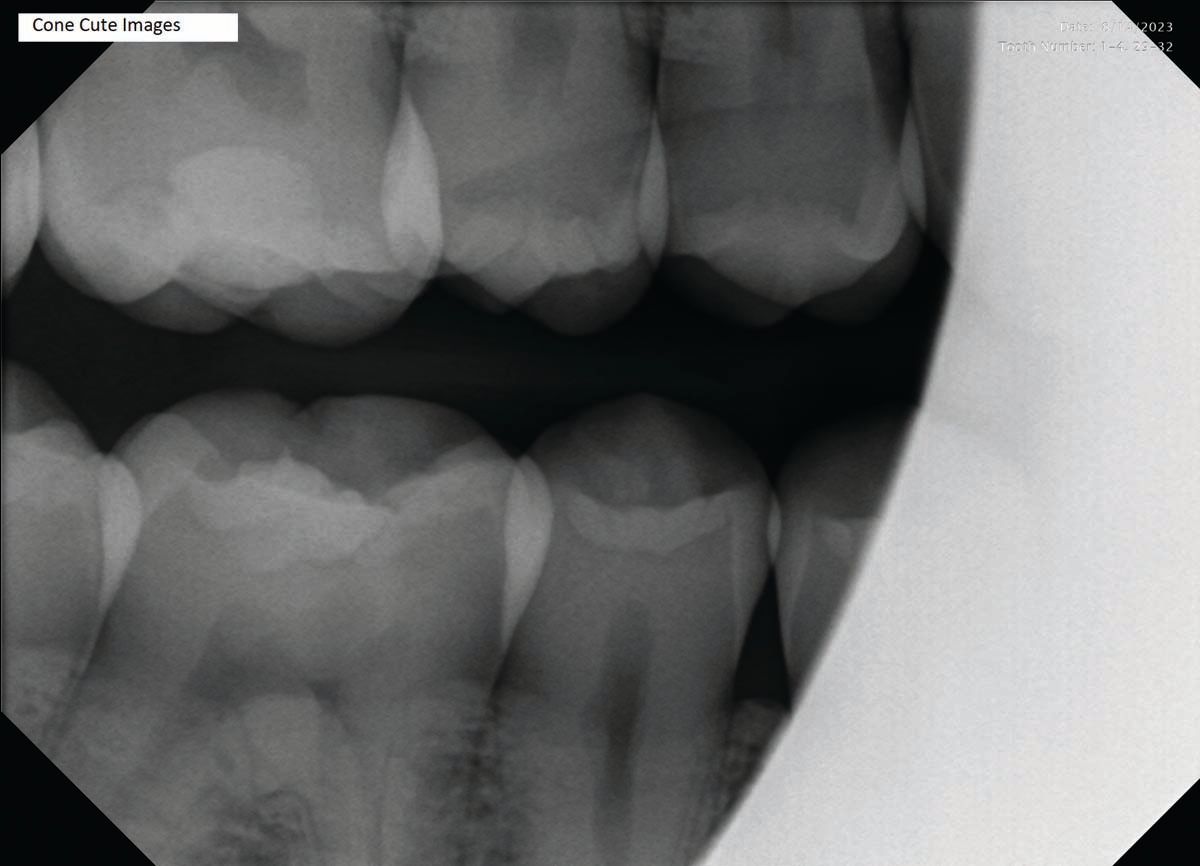
Cone cuts—which can appear as a clear zone on traditional radiographs after processing— is one of the positioning errors I consistently see. Each patient’s bite is different, and the sensor tends to move slightly once the patient closes their mouth. Be sure to watch the sensor in the patient’s mouth when they bite down on the bite block. When you align the x-ray cone with the aiming ring of the positioner, you can ensure you are pointing directly at the sensor.
When taking a 2-dimensional image of a 3-dimensional object such as a tooth, overlap can happen. This is caused when there is incorrect horizontal placement of the x-ray tube head in relation to the teeth when aiming at the sensor. Ensuring the x-ray cone is both horizontally and vertically aligned with the aiming ring of the positioner system will help reduce overlap.
Implementing regular reviews of adherence to best practices and peer-review observation of each other’s techniques can help prevent these common mistakes, improve workflow, and reduce retakes.
To learn more about DentiMax and the company’s
x-ray sensors and imaging software, visit the website
at dentimax.com.


