Crown preps (and the unexpected challenges they can present) are among my favorite procedures. I love the test of turning my focus to a single tooth for an hour or 2. In our office, we commonly talk about striving to make each one the “best crown ever”—prep design, hemostasis, impressions, temporaries, crown fit, occlusion, and cement all play a role in trying to achieve this.
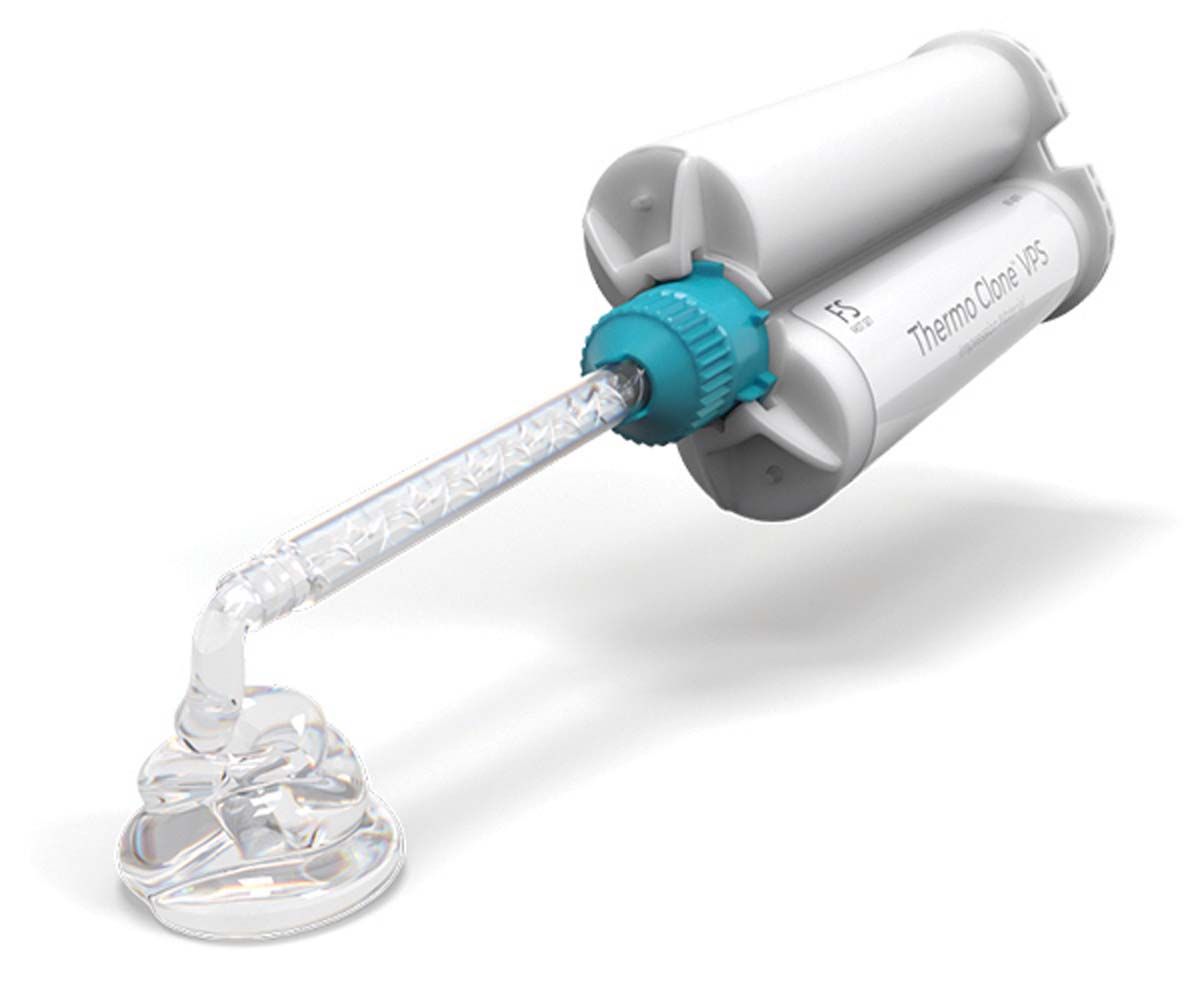
Thermo Clone Clear Bite products from Ultradent are among those advancements that improve my provisional crowns. Thermo Clone Clear Bite is a vinyl polysiloxane impression (VPS) material that sets fast (60 seconds), which is quicker than most conventional VPS materials. Its flexibility simplifies removing and reinserting into the mouth. It is far more accurate than alginate and can be reused should the patient lose their temporary a few days later. It also has the unique property of being a clear material that aids in seating the material back over the prepared teeth.
The patient shown in this case is a man aged 92 years who had an onlay I did for him 15 years ago on tooth #31 (Figure 1). It had been serviceable for many years until it fractured along the distal marginal ridge. No caries and no pain were reported. We discussed options and decided that we would replace the restoration with a zirconium-based crown.
I placed J-Temp (Ultradent) into the missing distal area (Figure 2). J-temp is a radiopaque, light-cured, flowable, methacrylate-based temporary resin that has a self-leveling quality. Its purple color makes it easy to distinguish from tooth and crown materials.
I placed the Thermo Clone Clear Bite into a quadrant tray and placed this over the lower right quadrant (Figures 3-6). Note that the use of an impression tray is optional with Clear Bite. I have found a tray helpful when working on most distal teeth, but Clear Bite also can be extruded directly over the teeth to be impressed without the need for a tray (Figures 7 & 8).
After removal of the old ceramic onlay and completion of the crown prep (Figure 9), I proceeded with tissue hemostasis—this is an especially important and often overlooked step. It is important to control any hemorrhage prior to cord packing and retraction. I placed Astringedent X (Ultradent) in a syringe with the yellow Metal Dento-Infusor tip (Figure 10).
The way you use the chemistry is just as important as the type of chemistry you use. Use of a firm scrubbing motion with the Dento-Infusor tip is critical. You do not want to lightly apply it to the tissue as this tends to run and can be messy. Application must be done with a firm scrubbing or rubbing motion, working the solution into the tissue, which is far more effective in controlling bleeding. If you were not taught the benefits of ferric sulfates in dental school, do not fear the brown color; it goes away quickly and it is more important that you have control of the area for a quality impression.
Thermo Clone Clear Bite Material
This transparent bite material impression is designed to improve accuracy and visibility, all while ensuring an ease-of-use that makes it suitable for any dental practice. It’s translucency is said to make it easier to ensure that the impression is seated appropriately over the right tooth. Light-cure composites are able to cure through this material.
Ultradent
888-230-1420
ultradent.com
For cord packing, I used ViscoStat (Ultradent) and did a double cord packing technique. I soak the cord for a few minutes (Figure 11) and then just lightly blot the cord to remove excess hemostatic material. The viscous material helps the cord slide into the sulcus better for me. In this case, I used an Ultrapak cord #00 (yellow) as a first layer (Figure 12), then placed a larger #1 cord (blue) over this for greater retraction (Figures 13 & 14). I find that I can pack larger diameter cords than I used to because the cord compresses much more than I originally realized. It is still very gentle and I get better retraction. I am not in a hurry to pack the cord; my goal is to be gentle and achieve retraction without injury to the tissue. I want the top cord to be visible (Figure 14) and I leave this in place for 5 minutes. When I remove the cord (Figure 15), I am careful to tease the moistened top cord out and check for bleeding, then I rinse and dry. This technique is called “car wash” because I spray heavy with a combination of water and air. If I can do this and not have any bleeding, then I am ready for the impression (Figure 16). If I have bleeding, then I just pick up hemostatic solution in a syringe and scrub the area again before retesting the area with the car wash spray until I am confident that I have a clean and dry area to impress. Do not rush this step. Using the hemostatic solutions prior to cord packing, soaking the cord in the solution, and gently teasing out the moistened cord all help to not create bleeding.
I am impressing with a dual arch tray and Thermo Clone heavy and light body VPS impression material (Figures 17-19).
To create the provisional restoration, I placed ExperTemp material (Ultradent) into the #31 site of the Clear Bite matrix we had previously created (Figures 20-22). ExperTemp is a bis-acryl material with a working time of 40 seconds. I remove it from the mouth between 1½ and 2½ minutes (I tend to go much faster if the tooth has a great deal of retention or if I am concerned about locking the material into proximal undercuts; if we have a second molar like this, I can wait the full 2½ minutes if my patient will allow it). (Figure 23)
Upon removal you will see flash around the margins and the proximal areas (Figures 24 & 25). You can trim the flash with a diamond in a handpiece and polish in your lab or use composite polishers such as the Jiffy Natural Composite Polisher (Ultradent) pictured (Figure 26). ExperTemp material, like other bis-acryl materials, needs to have the oxygen inhibition layer removed with alcohol. You can add to any deficiencies with more ExperTemp or a flow resin. You can bond to it or apply a glaze such as PermaSeal (Ultradent) if you want a shiny temporary crown.
I have found that the fit of the temporary crowns made with the help of the Clear Bite have been exceptional. Do temporaries come off? Yes, but not as often. If I have a good crown prep with adequate retention and a nice provisional crown with closed margins, I am confident that it will be a durable and protective crown that will be there until the final crown is ready. If a temporary crown comes off or is lost, I can remake the temporary crown in minutes with the saved Clear Bite impression—I save and label them in a clear plastic bag until the final crown is seated.
There are many temporary cements we can choose from to select the ideal retention for the case on which we are working. My go-to is the new UltraTemp REZ II (Figure 27). This is a recently reformulated cement that has great seal, low irritation, and seems easy to clean up. One of my favorite features is that when I remove it, the cement tends to stay in the temporary crown and not as much on the tooth. If I am worried about too much retention with the temporary cement, then I have our UltraTemp cement, which is a great cement with low irritation and less retention.
We owe it to our patients to offer the best skills and materials available.

