Technique: How posterior composites made a difference in two cases
In this how-to dental technique, Dr. Parag Kachalia shows dentists in video and text form how he used posterior composites to help two patients.

In the following two cases, learn how many dental products worked together to help two dental patients have their problems solved.
Included in the products used is a posterior composite, SonicFill from Kerr. To learn more about predictably placing posterior composites, please click here.
Case #1
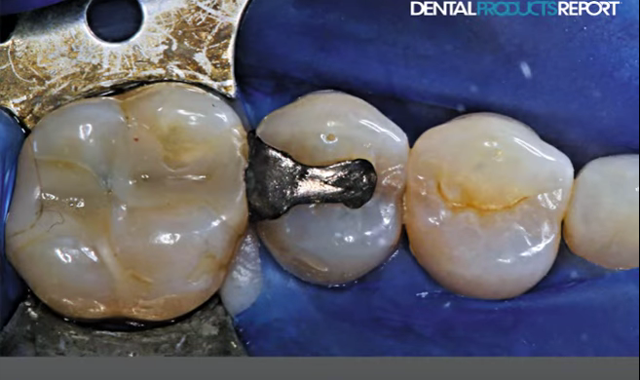
Patient presented with recurrent caries in the distal box form of tooth No. 13 and new approximal caries on the distal of tooth No. 12. After consultation with the patient, a decision was made to remove the existing restoration and caries and place direct restorations.
After administering anesthesia, the teeth were isolated utilizing a rubber dam. After complete caries excavation, the teeth were restored one at a time in order to achieve proper anatomical proximal contact. The system used was a sectional matrix (V3 Matrix) and wedge (Wave-Wedge), and ring (V3 Universal Ring) from Triodent. The deepest portion of each preparation was then measured, and both were found to be inside of 5mm. This finding allows one increment of the SonicFill A3 composite to be placed. After utilizing a total etch protocol and fifth-generation adhesive (Optibond Solo+), a single increment of SonicFill composite was placed, sculpted and fully cured utilizing a DemiUltra LED curing light.
To achieve thorough polymerization, the restoration was initially cured for 20 seconds from the occlusal surface as well as 20 seconds from both the buccal and lingual surfaces after removing the sectional matrices. After removing the rubber dam, minor contouring was completed utilizing a 16-fluted carbide composite finishing bur (ET Series [Brasseler USA]). The restoration was polished utilizing a three-step silicone-impregnated rubber point system (Jiffy Polishers [Ultradent Products]).
New product alert: Learn more about Maxcem Elite Chroma
Case #2
Patient presented with recurrent caries in the mesial and distal box form of tooth No. 30, and the adjacent teeth presented with clinically acceptable restorations.
The patient was informed the new restoration would be fairly large in size and the patient should consider an indirect restoration to minimize the chance of cuspal flexure and fracture. Taking into account the risks, benefits and alternatives, the patient decided to have a direct restoration placed. After administering anesthesia, the teeth were isolated utilizing a rubber dam. Upon complete caries excavation, the prepared surfaces were matrixed to allow for a properly contoured restoration to be placed. The system used was the V3 Matrix, the Wave-Wedge wedge and the Palodent Plus ring by DENTSPLY.
The deepest portion of the preparation was then measured, and both were found to be inside of 5mm. This finding allows one increment of the SonicFill 2 composite to be placed. After utilizing a total-etch protocol and fifth-generation adhesive (Optibond Solo+), a single increment of SonicFill 2 composite was placed, sculpted and then fully cured utilizing a DemiUltra LED curing light.
To predictably achieve thorough polymerization, the restoration was initially cured for 20 seconds from the occlusal surface as well as 20 seconds from both the buccal and lingual surfaces after removing the sectional matrices. After removing the rubber dam, minor contouring was completed utilizing a 16-fluted carbide composite finishing bur (ET Series [Brasseler USA]). The restoration was polished utilizing a three-step silicone-impregnated rubber point system, Ultradent’s Jiffy Polishers.
Related reading: Why you should consider Kerr's Demi Ultra curing light
Watch the technique video below for more information...
ACTIVA BioACTIVE Bulk Flow Marks Pulpdent’s First Major Product Release in 4 Years
December 12th 2024Next-generation bulk-fill dental restorative raises the standard of care for bulk-fill procedures by providing natural remineralization support, while also overcoming current bulk-fill limitations.