How to use resin cements to bond indirect restorations
When it comes to indirect restorations, using resin cements can help maximize bond strength, increase predictability and decrease stress.
Recent advancements in dental materials have created “smart cements” indicating the ideal time for cement removal. This allows for easy cleanup, better chance of sealed margins and improved clinical success.
The delivery of indirect restorations has changed substantially over the years as new materials have come to market. Resin cements have been used for bonding leucite reinforced ceramic materials since the late 80s. During those first 20 years, resin cement use was limited to cosmetic procedures that were not done on a routine basis so the process was often confusing to dentists. 2006 is when we noticed a change, as lithium disilicate reemerged on the market as a partially crystalized milling block used for CEREC restorations. The flexural strength was 170 percent higher than any other ceramic at that time so it became wildly popular as both an anterior and posterior solution for restoring teeth.
In 2010, full-contour zirconia became more popular and along with eMAX influenced dentists to use less PFM and gold, and to start using more all ceramic crowns. This shift influenced the dental labs to do the same and the dental material manufacturers started leaning away from metal alloy-containing restoratives and favoring all-ceramic restorative dentistry.
While all these changes were happening with restorative materials, we also started seeing changes in the way we were bonding our restorations. The total-etch technique was the most common at the time. It is technique sensitive, and if not done correctly, patients can experience lasting post-op sensitivity with their restorations or they can develop stained margins if not sealed correctly. Because of this, we saw the introduction of more self-etch/self-adhesive cements like Maxcem and Unicem and dual cure cements like NX3/XTR from Kerr and Multilink from Ivoclar. These cements do not require etching of the tooth with phosphoric acid. The self-etch/self-adhesive cements use nothing on the tooth when the restoration is seated and the dual-cure cements use a self-etching primer and adhesive that is applied to the tooth and air thinned. The restoration is filled with the dual-cure cement and seated.
We saw much less post-op sensitivity with these methods, but we saw increased incidence of residual cement being left between the teeth and it wasn’t uncommon to accidentally bond teeth together during the process. At that time, NX3/XTR started to grow in the market because doctors could get all the benefits of a dual cure resin cement but also have easy clean up too.
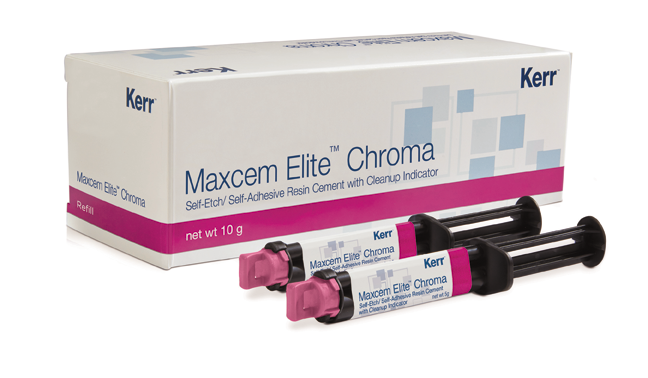
Kerr recently announced the release of their Maxcem Elite Chroma resin cement. It is a self-etch, self-adhesive resin cement with a cleanup indicator. Translation: it is a low-sensitivity, easy-to-use resin cement that takes all the guesswork out of the cleanup process. It makes the last five minutes of the appointment stress free and predictable.
Continue to the next page to see how Maxcem Elite Chroma was used to treat two recent cases.

Case one
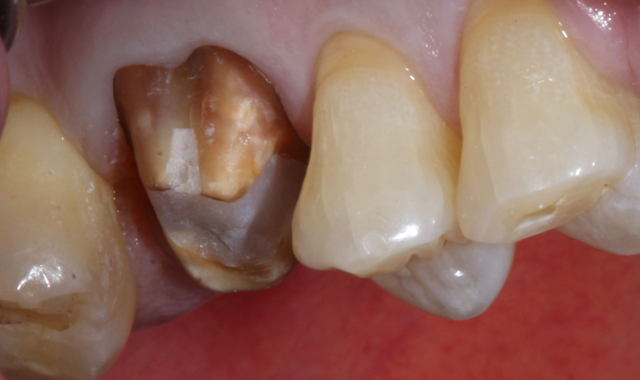
A 74-year-old patient presented with deep mesial decay under his gold crown on #3 (Fig. 1). The crown was removed showing the extent of the decay, so the decay was removed until healthy tooth structure remained (Fig. 2).
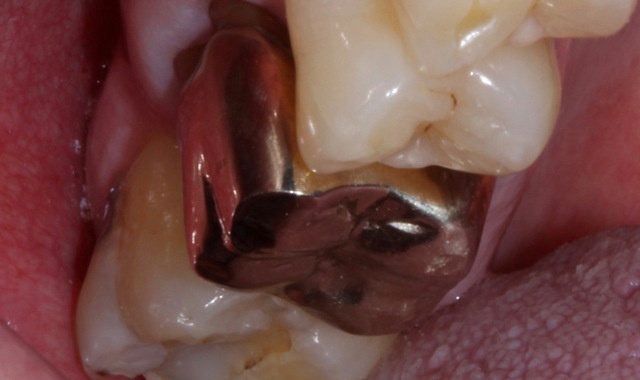
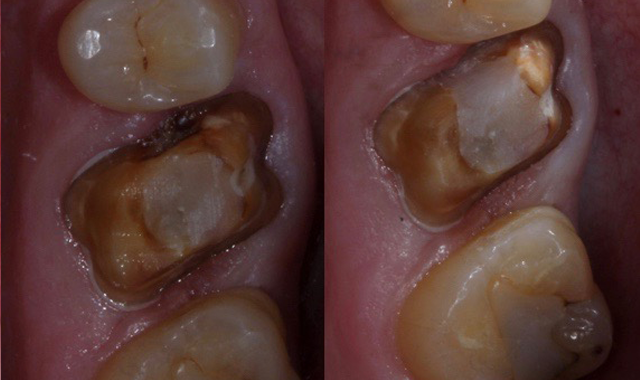
Fig 1. Fig. 2
At that point, the prep was scanned using the CEREC omnicam and the crown was designed (Fig. 3) and milled out of eMAX CAD A3 LT block. The porcelain was prepped using porcelain etch for optimal adhesion to the resin cement (Fig. 4).
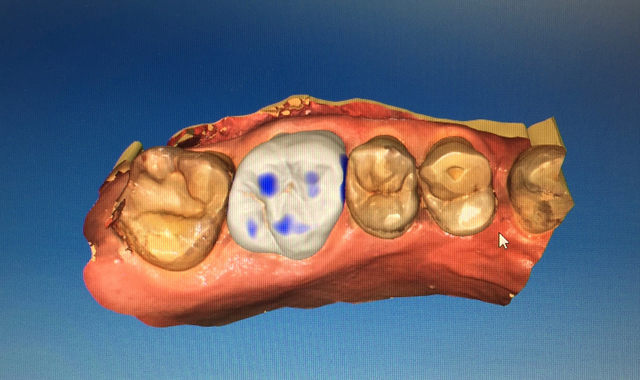
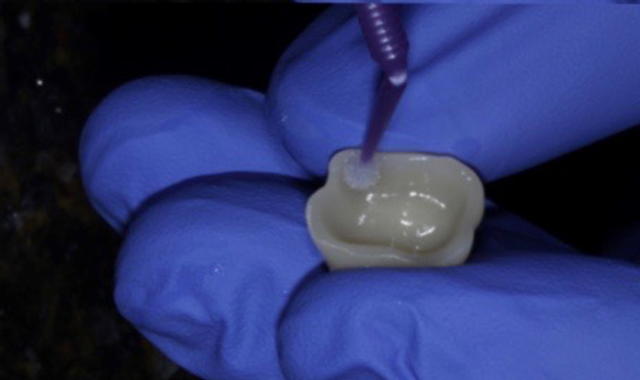
Fig. 3 Fig. 4


Case 1 cont.
Next the tooth was washed, rinsed and ready for cementation (Fig. 5). At this time, Maxcem Elite Chroma was injected into the restoration as a white resin cement but within three seconds you can just start to see a hint of pink in the cement (Fig. 6). The restoration is seated over the clean prep and firm pressure is applied as we wait for the pink to turn back to white, which indicates ideal cleanup time (Fig. 7). If you start to clean things up while it is still slightly pink you will notice the cement is still tacky to the touch

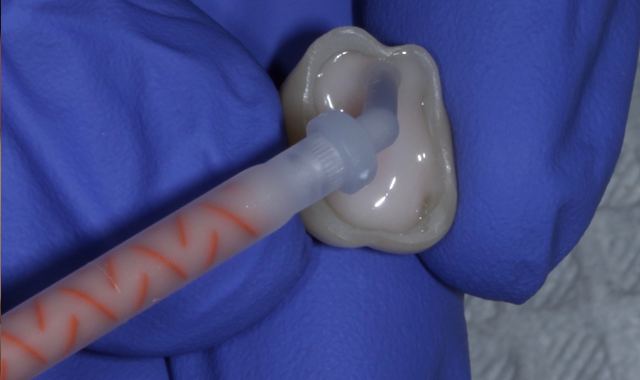
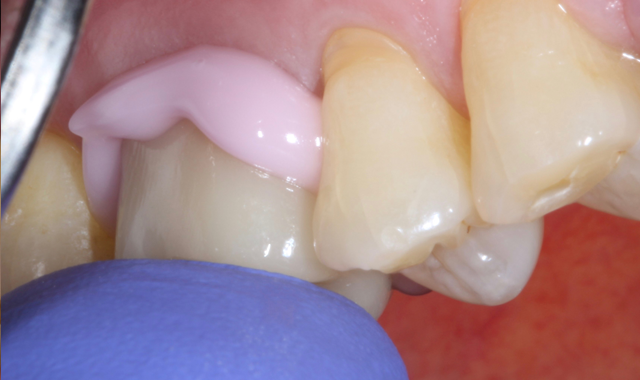
Fig. 5 Fig. 6 Fig. 7
Once the cement has changed to white, you know it is time to clean it off the tooth. It comes off very easily in large pieces on both the buccal and lingual (Fig. 8) and then floss is used to clean out the inter proximal areas (Fig. 9). After tooth is flossed, a 10-second light cure is done and the bite is checked, adjusted if needed and polished. The best part about the cement is how gentle it allows us to be with the surrounding tissue while cleaning up. You can see evidence of this in the post pick shown immediately after clean up (Fig. 10).
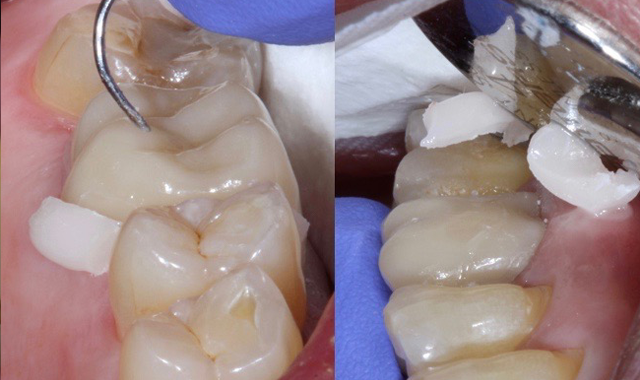
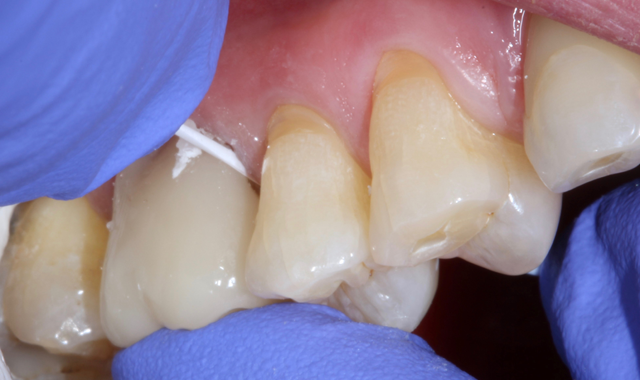
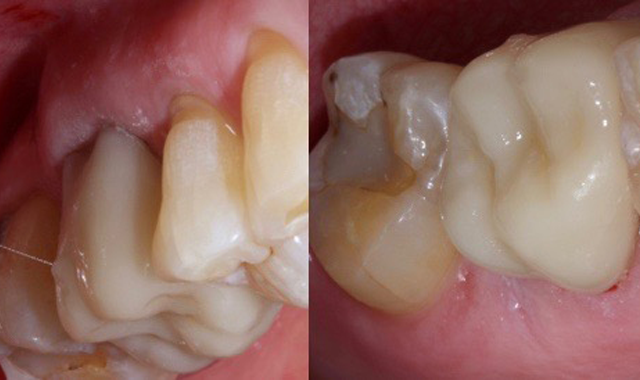
Fig. 8 Fig. 9 Fig. 10


Case two
A 35-year-old female presents with large composite on #14 and distal decay present undermining the distal lingual cusp (Fig. 11). Decay was removed and build up placed to allow for ideal prep with remaining enamel (Fig. 12).
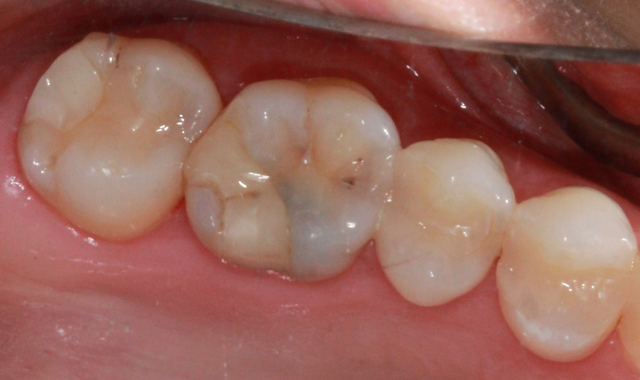
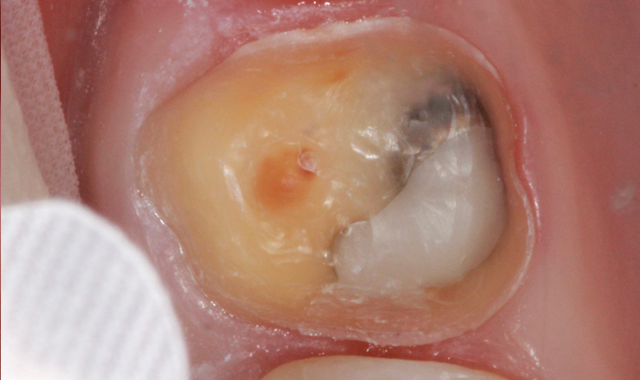
Fig. 11 Fig. 12
Because of the deeper decay and the patients history of sensitive teeth we decided a self-etching/self-adhesive cement was the best option for cementation. Porcelain treated using porcelain etch and silane and the tooth was cleaned and dried. Maxcem Elite Chroma was used to fill the restoration and it was seated in place with firm pressure and a nice bright pink color (Fig. 13). As soon as the cement changed to white I knew it was time to clean off the cement. It peeled off very easily. (Fig. 14).
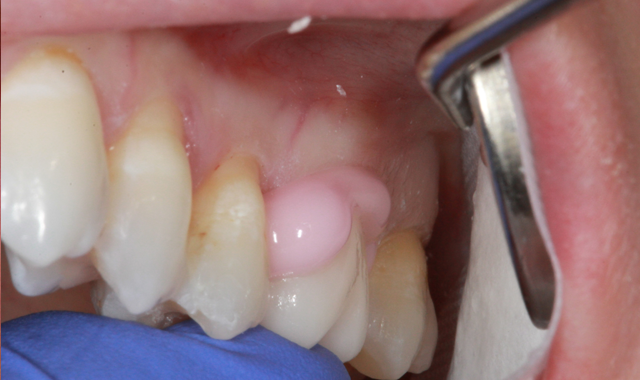
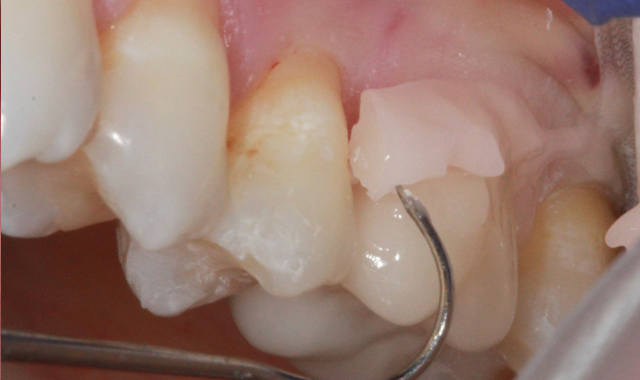
Fig. 13 Fig. 14
At that point pressure was placed on the occlusal surface as to not move the restoration during while flossing and the contacts were flossed and cleaned free of any debris (Fig. 15). The bite was adjusted and polished and patient was very pleased with the final result.
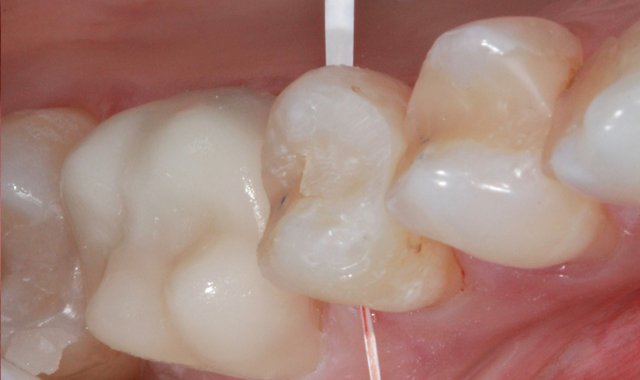
Fig. 15


Conclusion
There are so many materials for us to choose from each day as we treat our patients. In the end, I believe our patients judge our skill level based on three observations: Did it hurt during or after the procedure? Was the procedure done efficiently? Was the dentist friendly, honest and trustworthy.
Maxcem Elite Chroma will help take care of the first two things but as far as the last one goes, you are on your own. Don’t make the last five minutes of your crown procedure the most stressful; it doesn’t need to be.

ACTIVA BioACTIVE Bulk Flow Marks Pulpdent’s First Major Product Release in 4 Years
December 12th 2024Next-generation bulk-fill dental restorative raises the standard of care for bulk-fill procedures by providing natural remineralization support, while also overcoming current bulk-fill limitations.