How to simplify provisionals with DMG’s TempoCem ID Temporary Cement
Dr. Lee Ann Brady demonstrates how to use DMG’s TempoCem® ID Temporary Cement for crafting esthetic and functional provisional restorations. Crafting an esthetic and functional provisional restoration is crucial to surpassing patient expectations, building word-of-mouth marketing appeal and ensuring future case success.
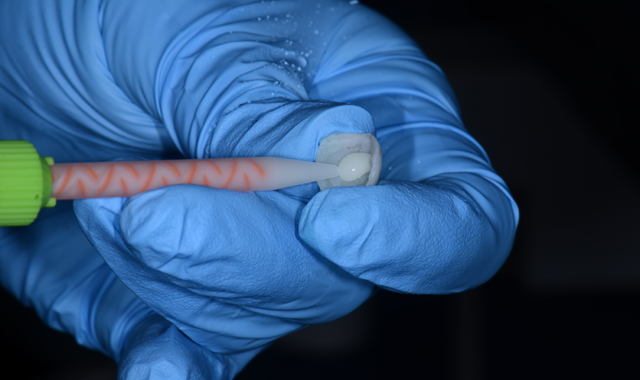
Crafting an esthetic and functional provisional restoration is crucial to surpassing patient expectations, building word-of-mouth marketing appeal and ensuring future case success.
This ability to determine the tone and course of the entire case is what makes provisionals a key component of restorative dentistry and one that shouldn’t be overlooked. When provisionals appear beautiful, feel natural and stay in place until the patient comes back to have the restoration seated, they create an extremely positive experience. The patient will be more apt to do restorative procedures in the future and will brag about your skills to their friends, family and colleagues.
Unfortunately, the reverse is true as well. If the temporary isn’t esthetic, breaks, falls off or the tooth is sensitive, it will be a very negative experience for both the patient and the dental team. This can lead to a damaged public image, miscommunications built on disappointment and less confidence all-around for the duration of the case. To solidify the long-term health of a dental career, it’s important that as many restoration processes as possible are smooth and predictable.
Trending article: How to treat proximal caries lesions with DMG Icon
Accomplishing this goal consistently and crafting exquisite restorations go hand in hand. The first piece of the puzzle is the quality of the provisionals. Today, most provisional restorations are fabricated from bisacryl materials utilizing a matrix for ease in recreating existing dentition.
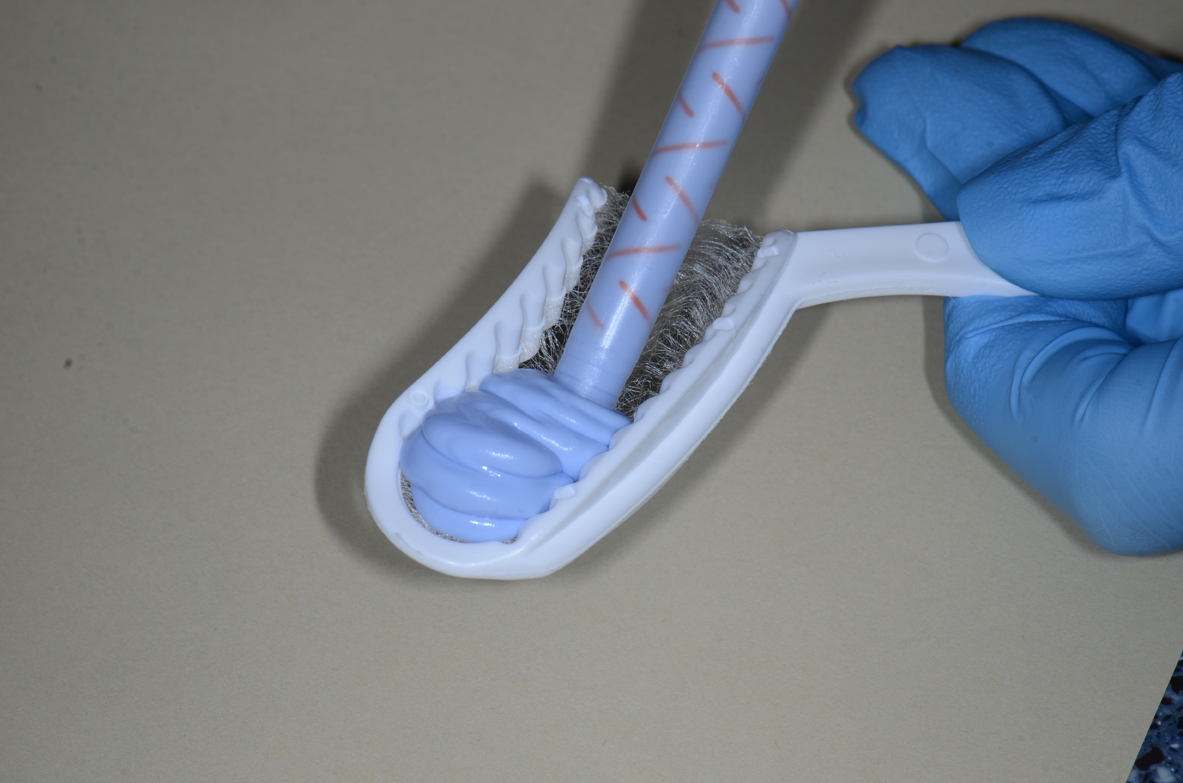
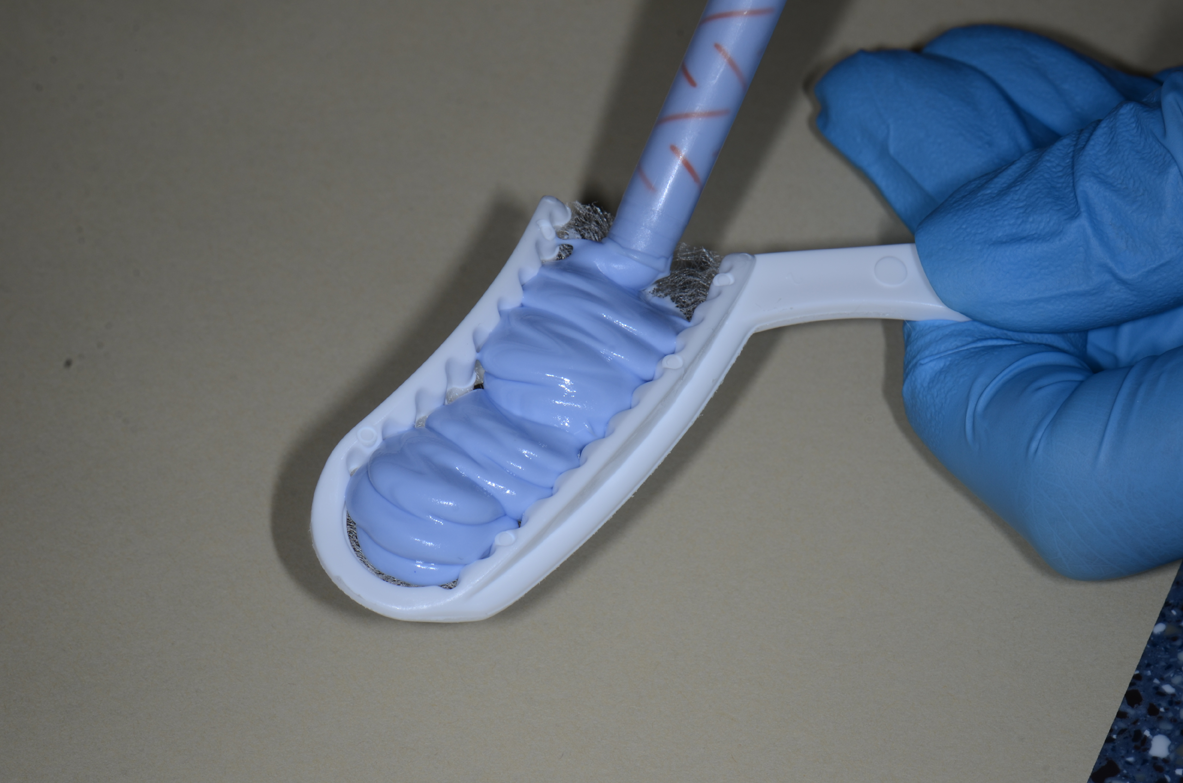
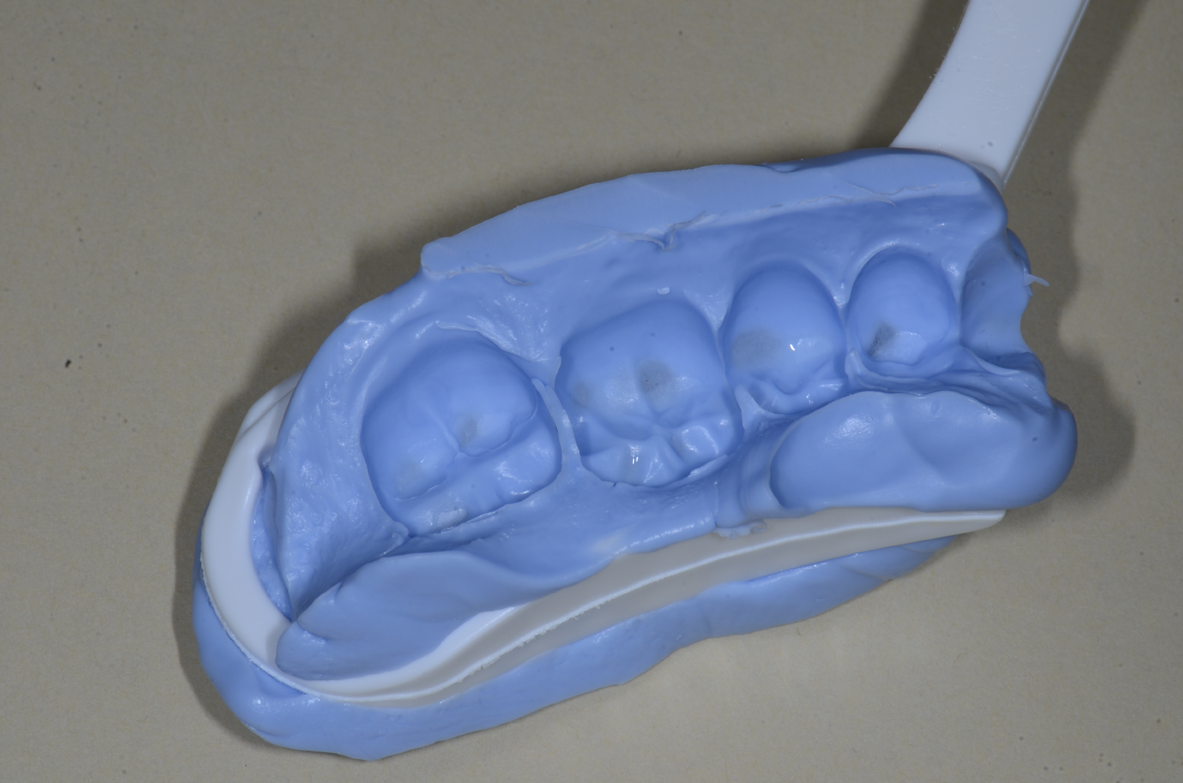
Fig. 1 Fig. 2 Fig. 3
For single-unit cases, a matrix may be fabricated using either a polyvinyl substitute for alginate, such as StatusBlue® (DMG America) (Figs. 1-3), or for more complex restorative cases, a two-stage VPS silicone matrix and a laboratory wax-up give the best detail. Luxatemp® Ultra (DMG America) is a highly esthetic material combining fluorescence with incredible flexural strength. It enables the fabrication of beautiful provisionals that closely mimic the value, chroma and hue of the fracture resistant final ceramics (Figs. 4-6). The add-on resin is LuxaFlow™ Ultra (DMG America). It can be used to repair voids and margins and create long-lasting seals to help prevent leakage and sensitivity.
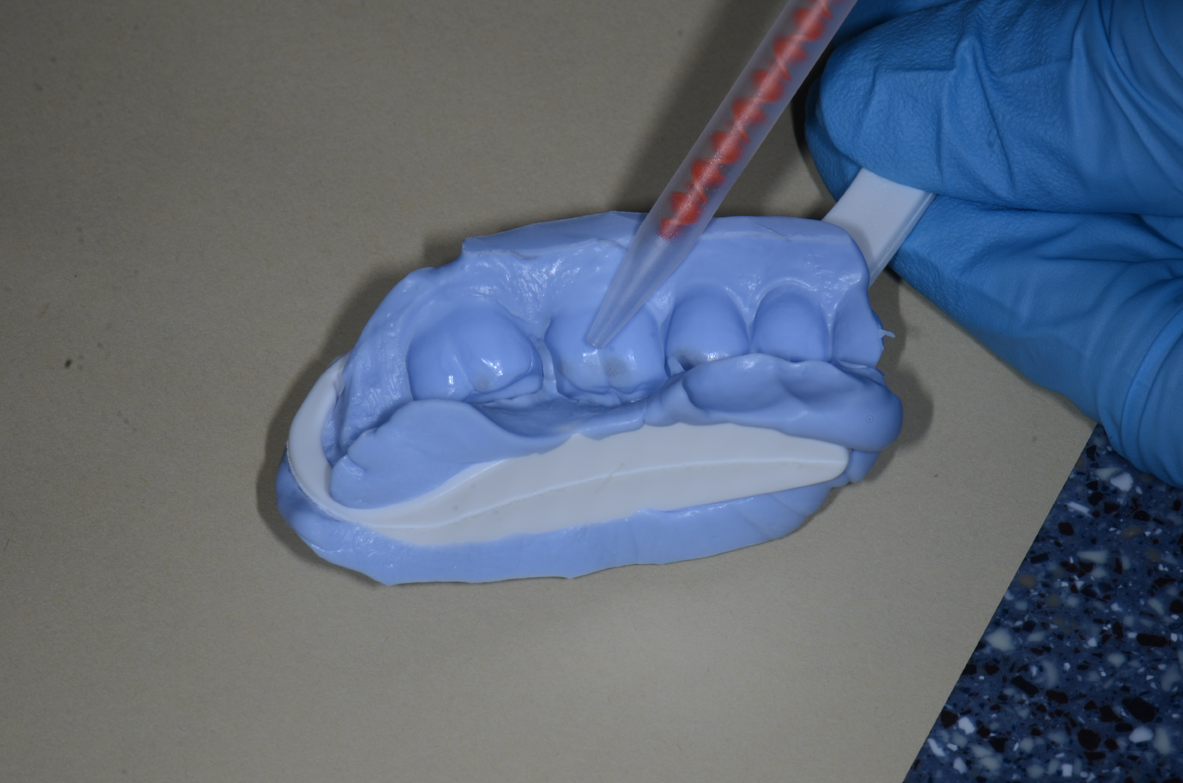
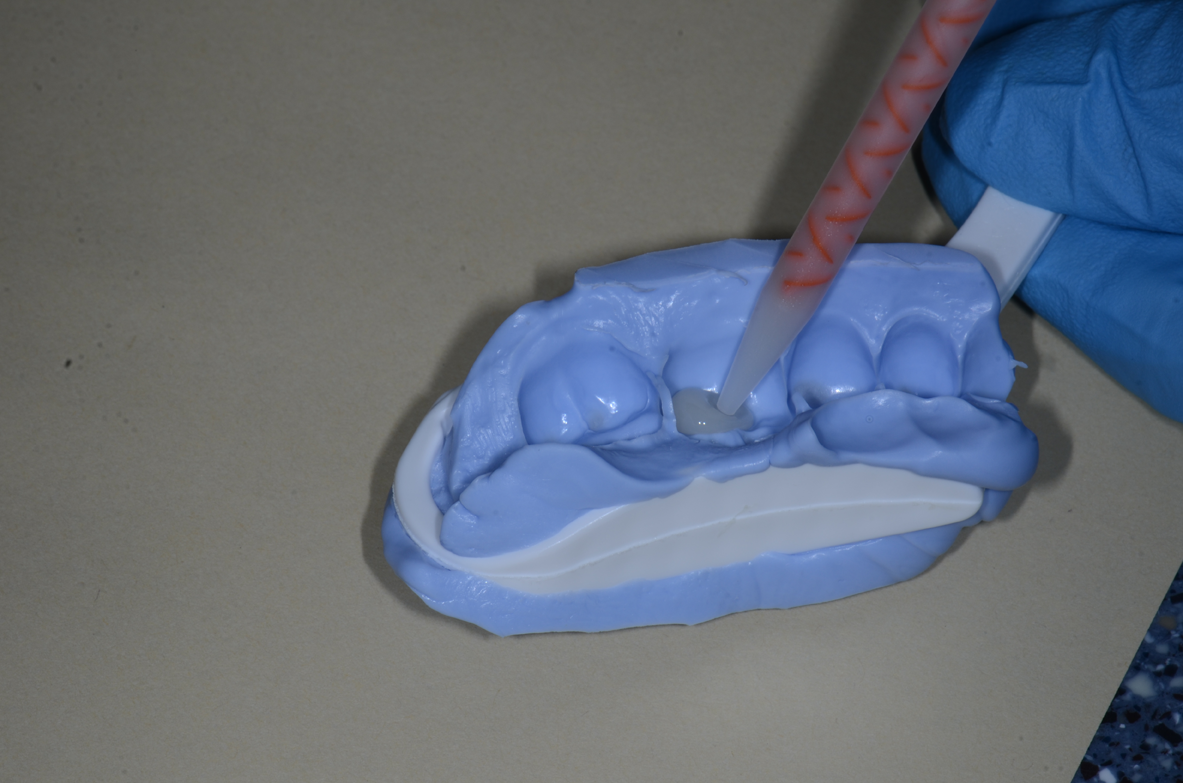
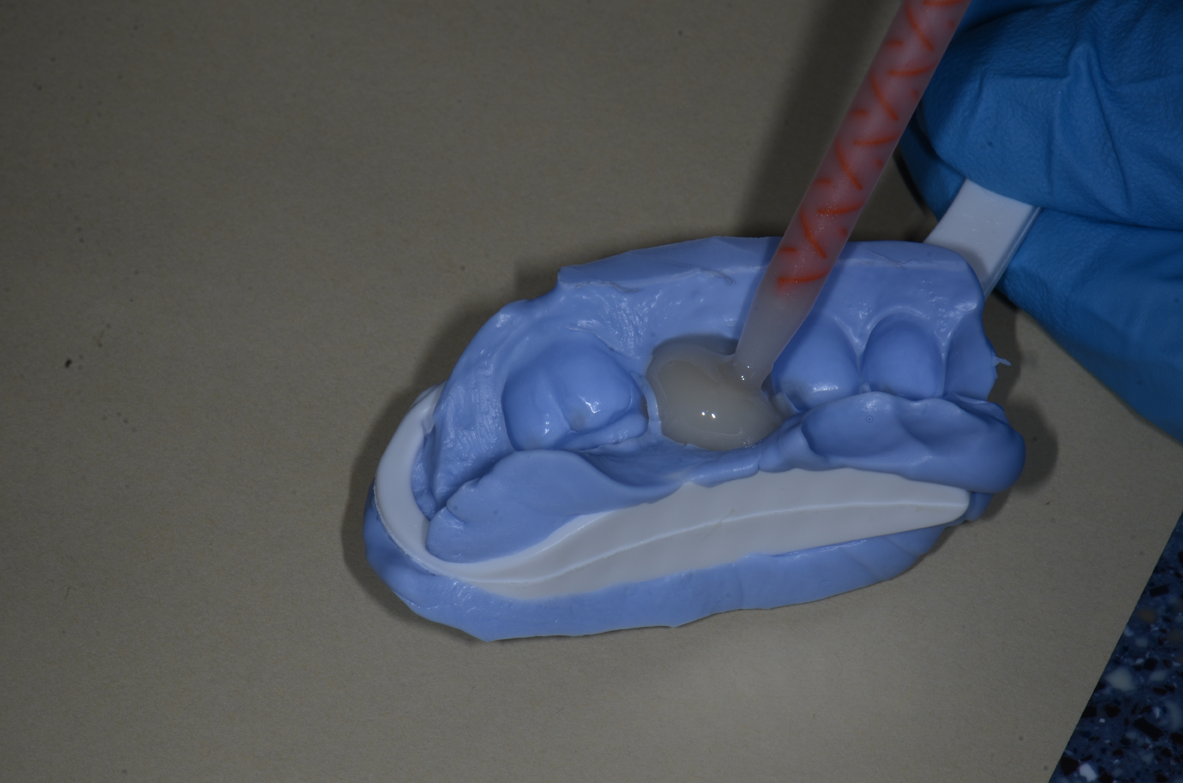
Fig. 4 Fig. 5 Fig. 6
Continue to page two for more...
Successful temporary cementation is measured by accomplishing a specific set of goals. Ideally, the temporary will stay securely in place until the patient returns for the seat appointment, and it can be easily removed at that time. The temporary cement (which should be translucent) creates an exquisite seal of the prepared tooth and dentinal tubules. This is essential for preventing sensitivity and bacterial infiltration. Leakage creates irritation to the pulp of the tooth and runs the risk of making the patient uncomfortable.
This can result in the patient needing a root canal. Adding insult to injury, leakage can also produce bacteria growth under the temporary. These bacteria, commonly referred to as “Black Scuz,” can cause permanent discoloration of the prepared tooth. In the end, leakage leads to a trifecta of devastating consequences that undermine any esthetic attempts.
The handling properties and chemistry of temporary cements are equally as important. More and more today, dentists prefer bonding final restorations in a eugenol-free temporary cement.
More on TempoCem ID: DMG America introduces TempoCem ID temporary cement
My personal preference is easy packing and dispensing that doesn’t require a mixing pad and spatula. One of the advantages of modern final cements is the ability to do a quick light cure. The material gets to a gel phase that enables simple, quick cleanup of excess cement. Having this same ability in a temporary cement is a distinct advantage. Temporary cementation occurs as the final stage in longer dental appointments when patients are ready for the procedure to conclude. Using a temporary cement that does not require an extended self-cure time period ensures efficiency by decreasing how long this final step of the appointment takes.
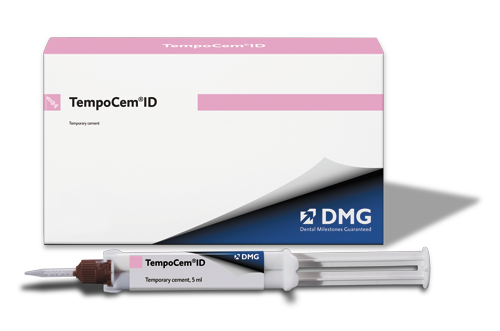
TempoCem ID is a phenomenal new temporary cement from DMG America that strengthens the likelihood that all clinical and procedural goals are met during provisionalization. There are many features of the cement that eliminate hassle and make the work that much more stress-free. It has all of the desirable qualities I outlined above, including optimal transparency, one-piece removal of excess, great adhesion, no-sticking and smooth flow. A key advantage to TempoCem ID is that it is invisible under restorations, yet detectable for easy excess removal. This is important for the comfort of the patient and for proper healing of the surrounding gingival tissue. Improper cleanup of cementation will lead to tissue inflammation, complicating the next step of treatment.
More from DMG America: DMG MiniDam provides quick protection where it's needed
Materials form the backbone of a successful case, which is why I select them with careful attention to actual performance. TempoCem ID filled every check box I have for a temporary cement and held up under real-world conditions during one of my recent cases. Now, I’ll explain how to use the product most effectively.
Continue to page three for a case study...
Case study
1. Following completion and polishing of the provisional, (if desired) clean the prep with a prep scrub containing 2% Chlorhexidine or Glutaraldehyde and HEMA (Fig. 7).
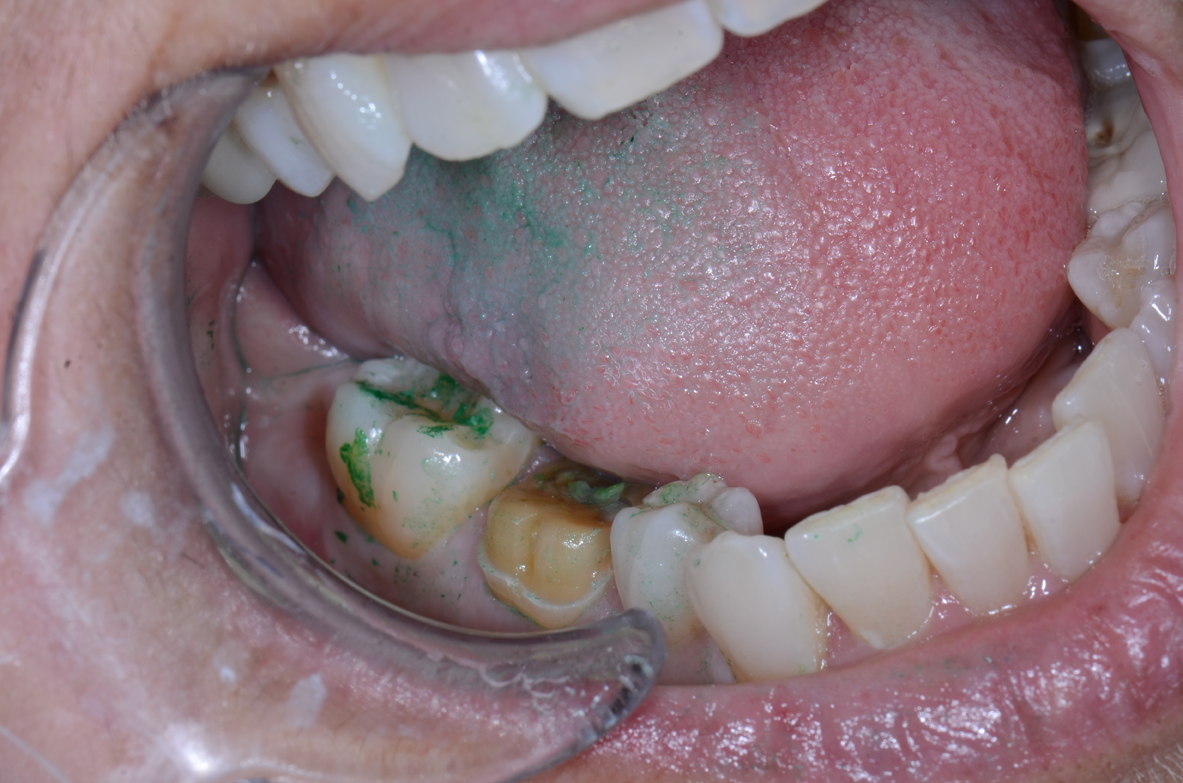
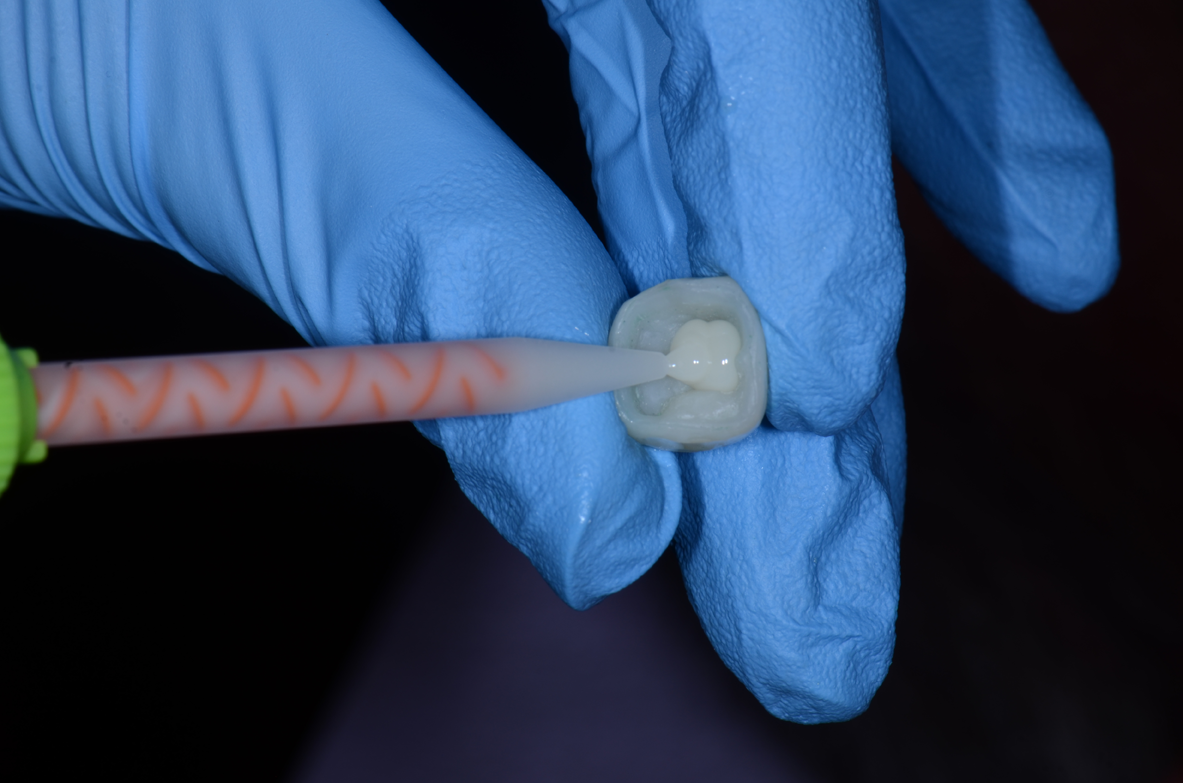
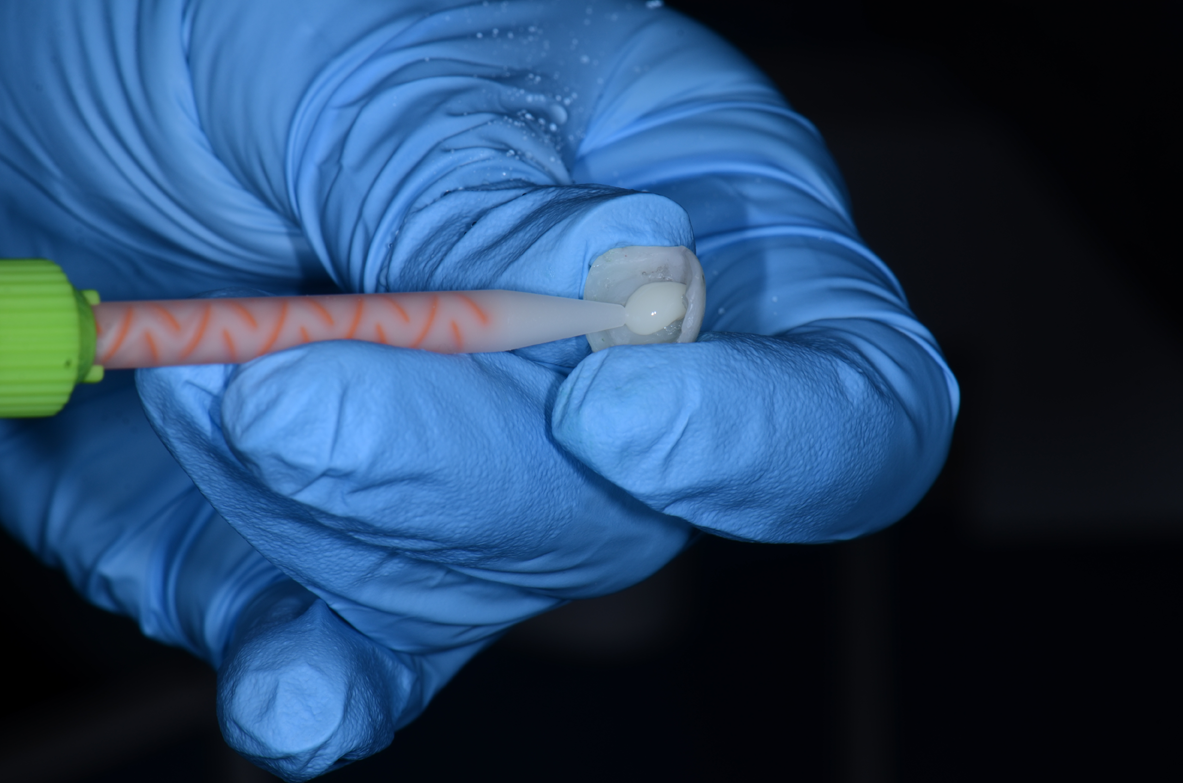
Fig. 7 Fig. 8 Fig. 9
2. Dry the prepared tooth and apply a separator or lubricant-like glycerin over any resin or composite-based materials that were placed during that day’s procedure. Express a small amount of material before placing a new mixing tip. Then, dispense the TempoCem ID into the provisional and seat the restoration (Figs. 8-11).
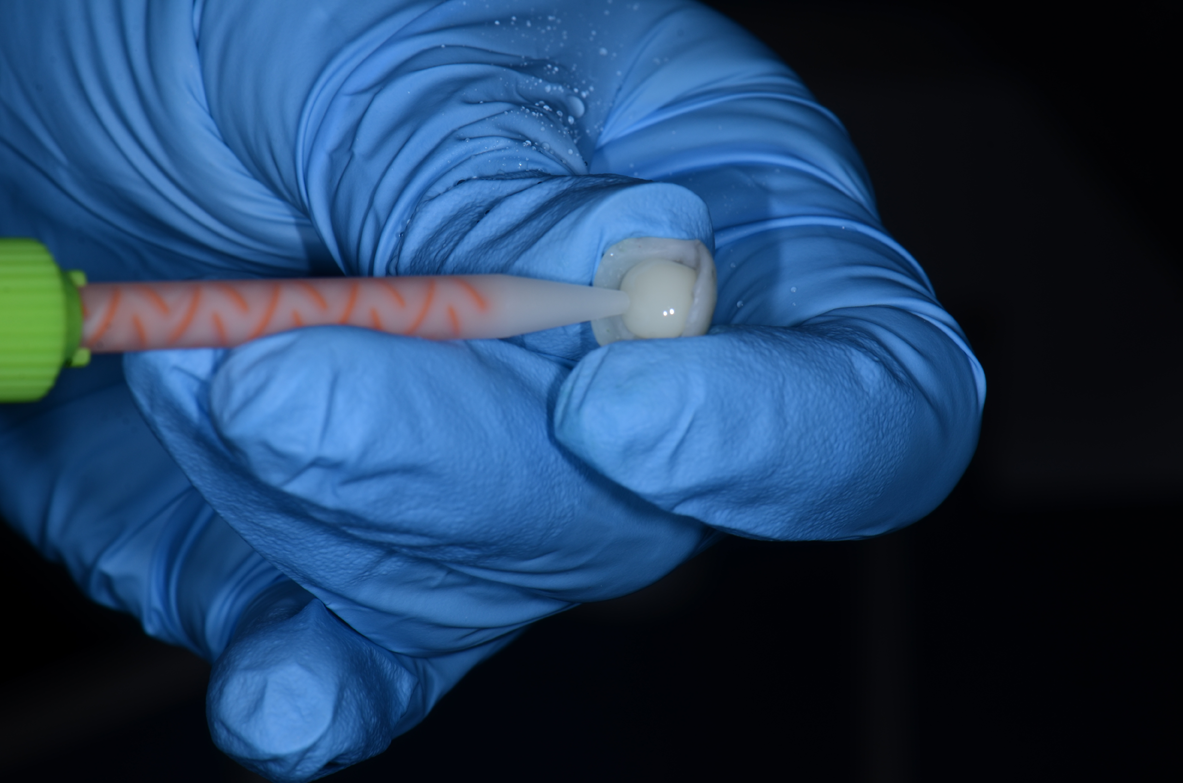
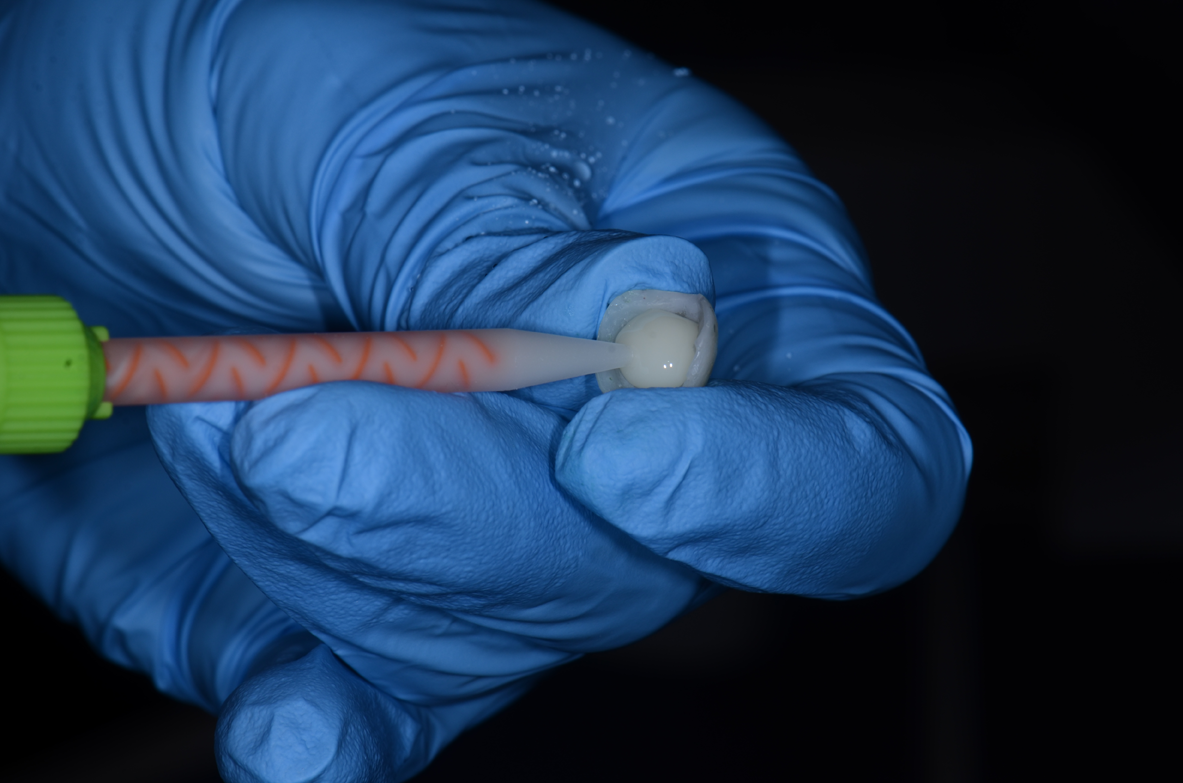
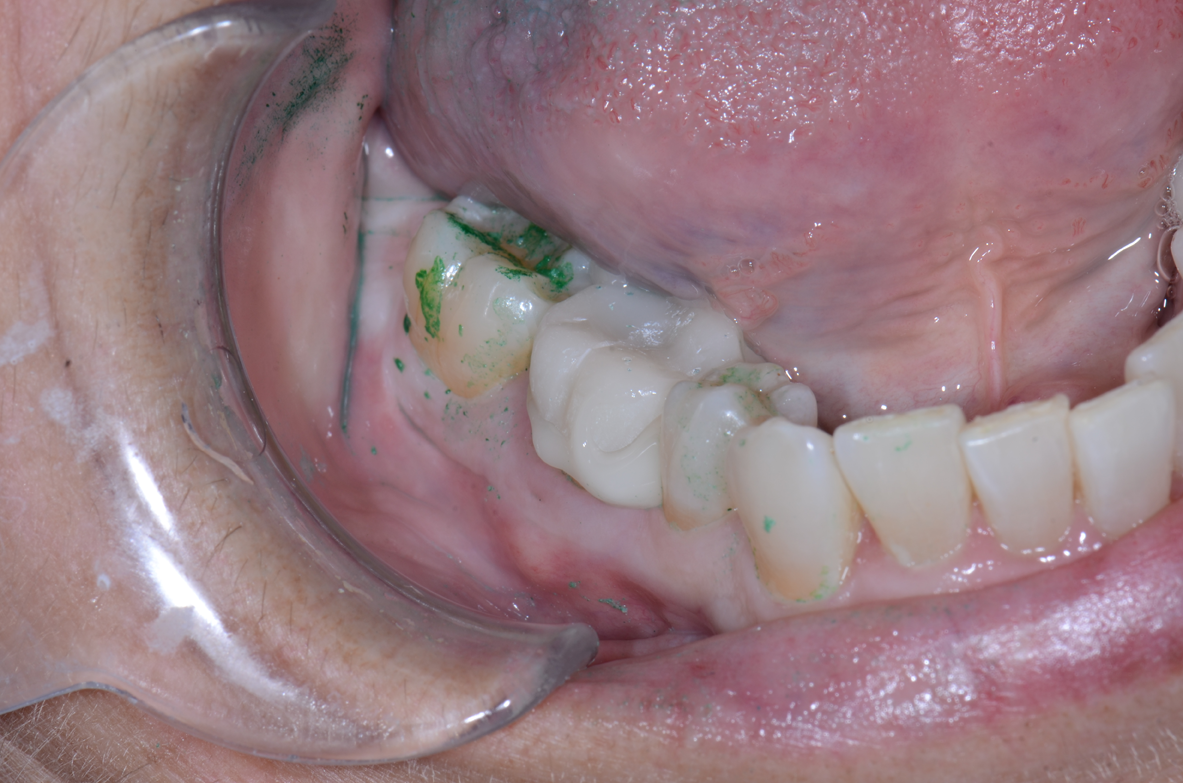
Fig. 10 Fig. 11 Fig. 12
3. Apply pressure and use an explorer to determine whether or not the provisional is fully seated. Cure the material with an LED curing light for no more than one to two seconds from the lingual and repeat on the buccal. The material will now peel off easily and excess can be removed with an explorer or scaler (Figs. 12-15).
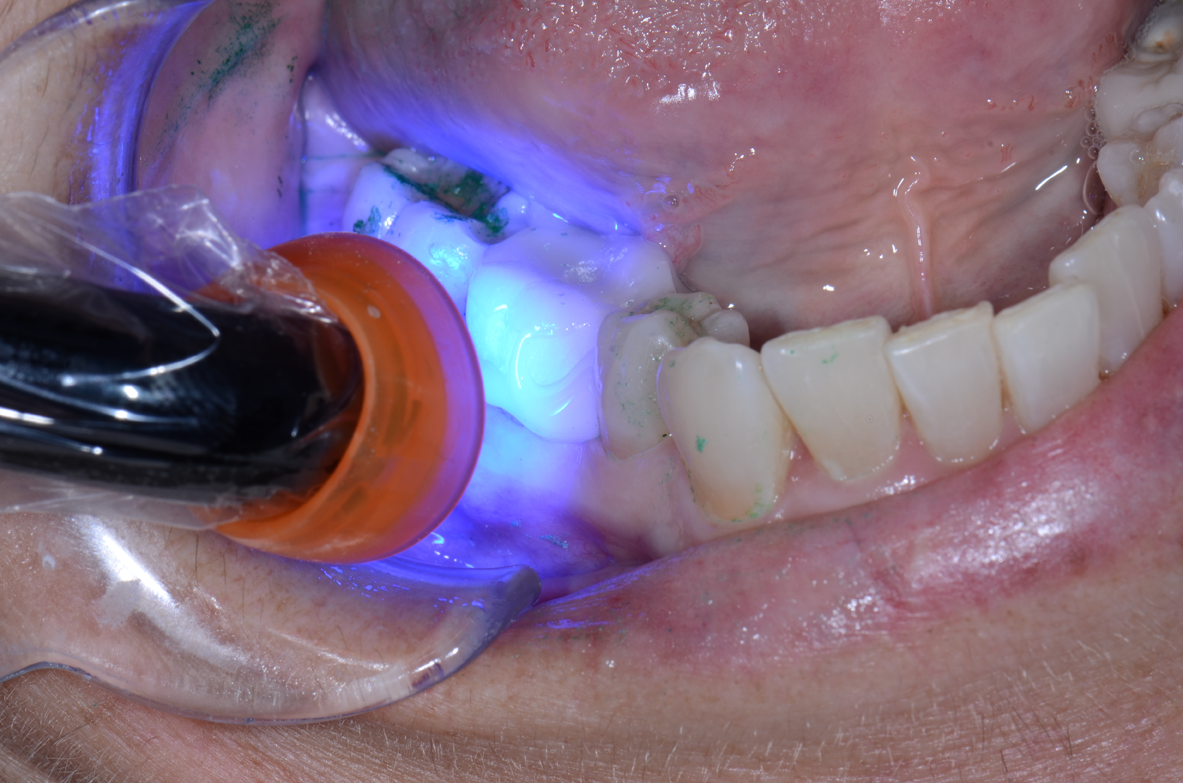
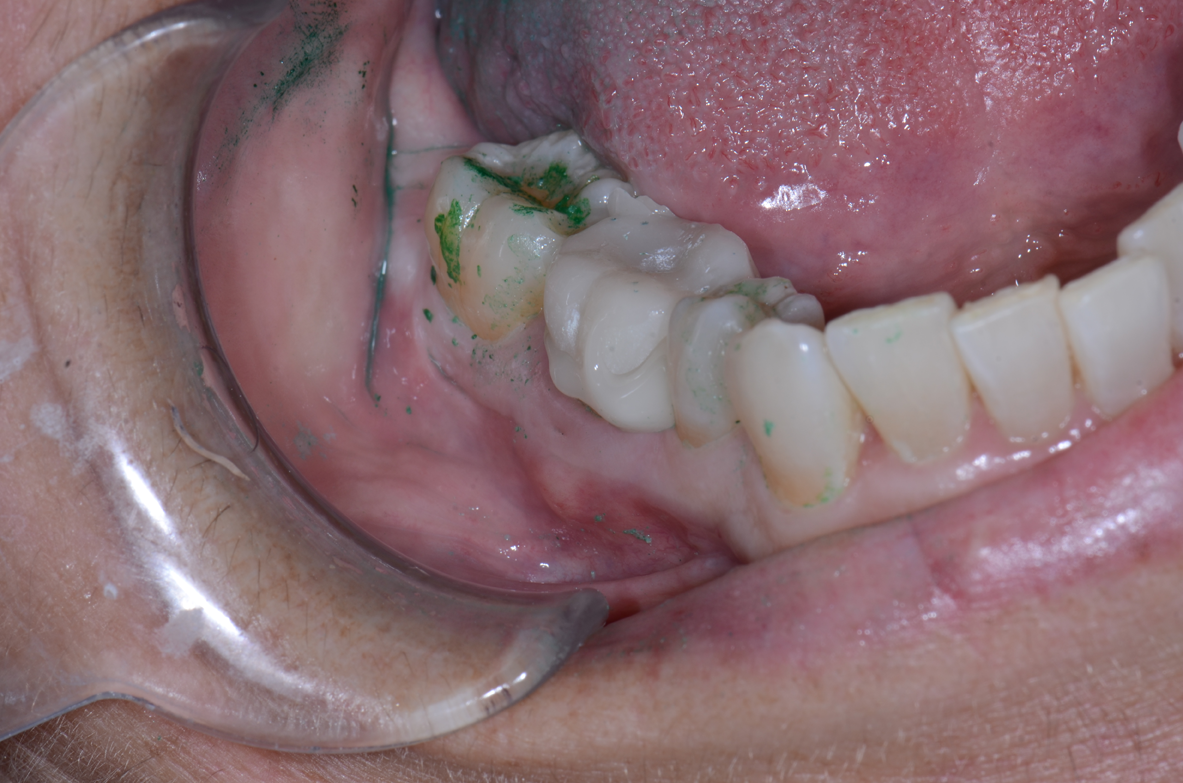
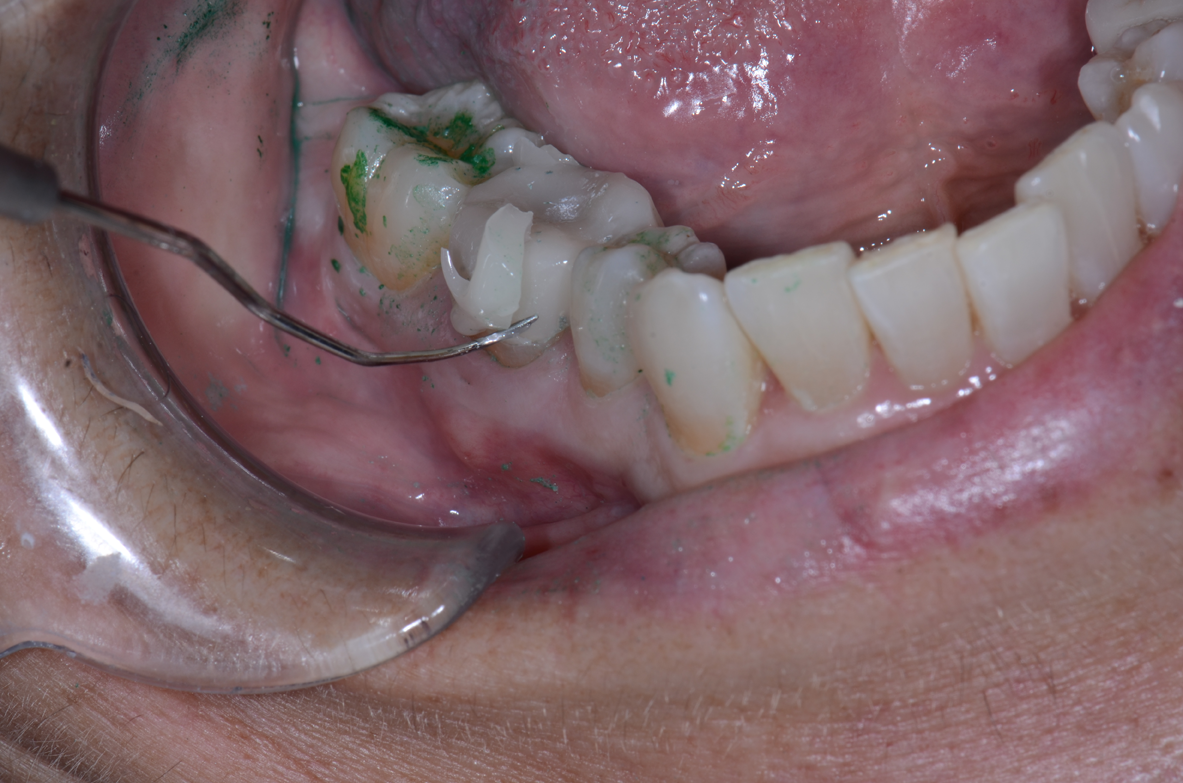
Fig. 13 Fig. 14 Fig. 15
4. Floss the contacts to remove excess that is wedged interproximally. Using your light-curing unit, cure for 20 seconds from the buccal and then again on the lingual. This will increase the translucency and the set of the material. The chemical cure time of the cement is six to seven minutes intraorally. A final light curing facilitates easy and efficient cleaning of the excess while increasing the initial cure. The set of the material is sufficient to rinse the patient, sit them up to deliver post-op instructions and ultimately release them.
Trending article: How to decrease chair time and sensitivity with reliable bulk fill restoratives
Conclusion
Provisionals can be fundamental referral sources for any dental practice. They should be recognized for their inherent cost-effectiveness and valuable marketing reach. These days, patients expect a degree of comfort and excellence in their dental procedures that can have an enormous impact on their perceived satisfaction with the end result. This psychological effect applies whether that end result is exactly what they envisioned or not. As with anything, first impressions can make or break relationships and set the tone for the extent of mutually beneficial interactions.
It is therefore integral that patients have a top-notch experience during the provisional phase-one of the most important pieces of a restorative procedure.
TempoCem ID temporary cement provides reliable support for dental professionals seeking to craft esthetic and functional provisionals their patients won’t be able to stop raving about.
ACTIVA BioACTIVE Bulk Flow Marks Pulpdent’s First Major Product Release in 4 Years
December 12th 2024Next-generation bulk-fill dental restorative raises the standard of care for bulk-fill procedures by providing natural remineralization support, while also overcoming current bulk-fill limitations.