How to restore Class V restorations with EPIC-TMPT
One dentist outlines how using EPIC®-TMPT Composite by Parkell can simplify Class V restorations.
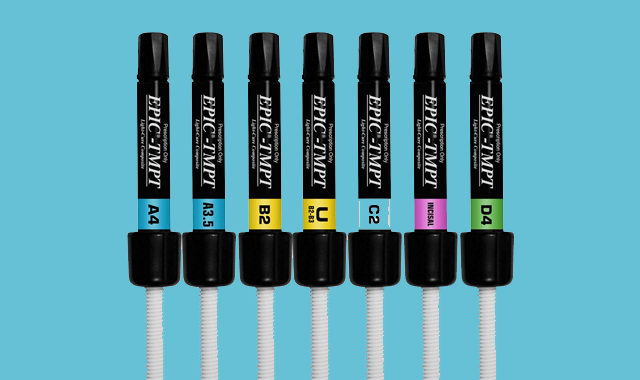
Restoration of Class V lesions can be difficult and frustrating. A number of materials choices and techniques are available, but I have found a material that has made my work much easier and I actually enjoy placing Class V restorations today.
While glass ionomers, resin ionomers and composite resins have been successfully used, I prefer a microfil composite resin. One that I particularly like is EPIC®-TMPT by Parkell. In this article, I will illustrate a technique that I have found to be predictable, quick and esthetic.
Continue to the next page to learn how EPIC-TMPT can make the process easier.

Step 1
Fig. 1

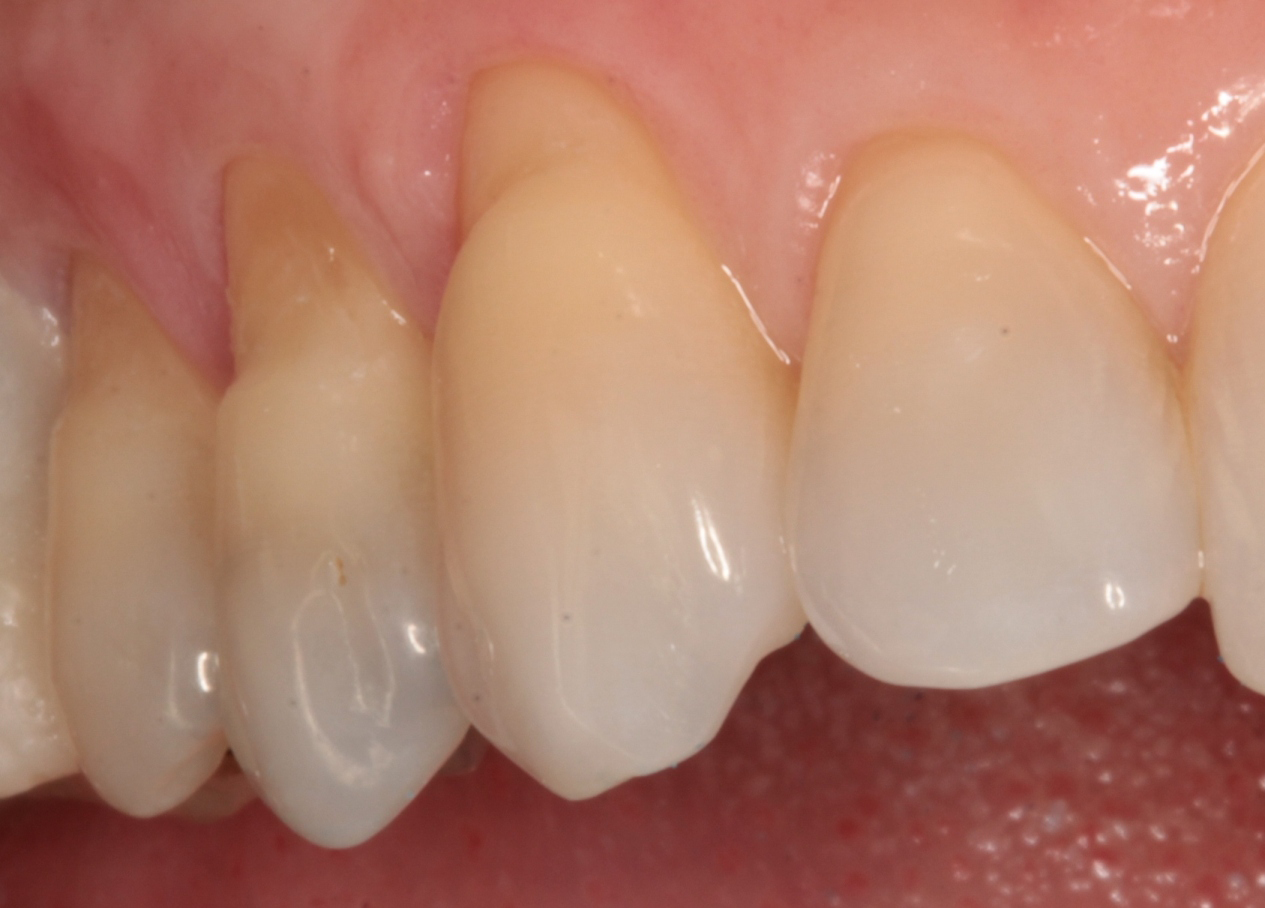
Figure 1 shows a patient with non-carious Class V grooving in the canine, first premolar and second premolar teeth. The molar has already been restored with a full crown. Restoration was desired by the patient for esthetic reasons.
Step 2
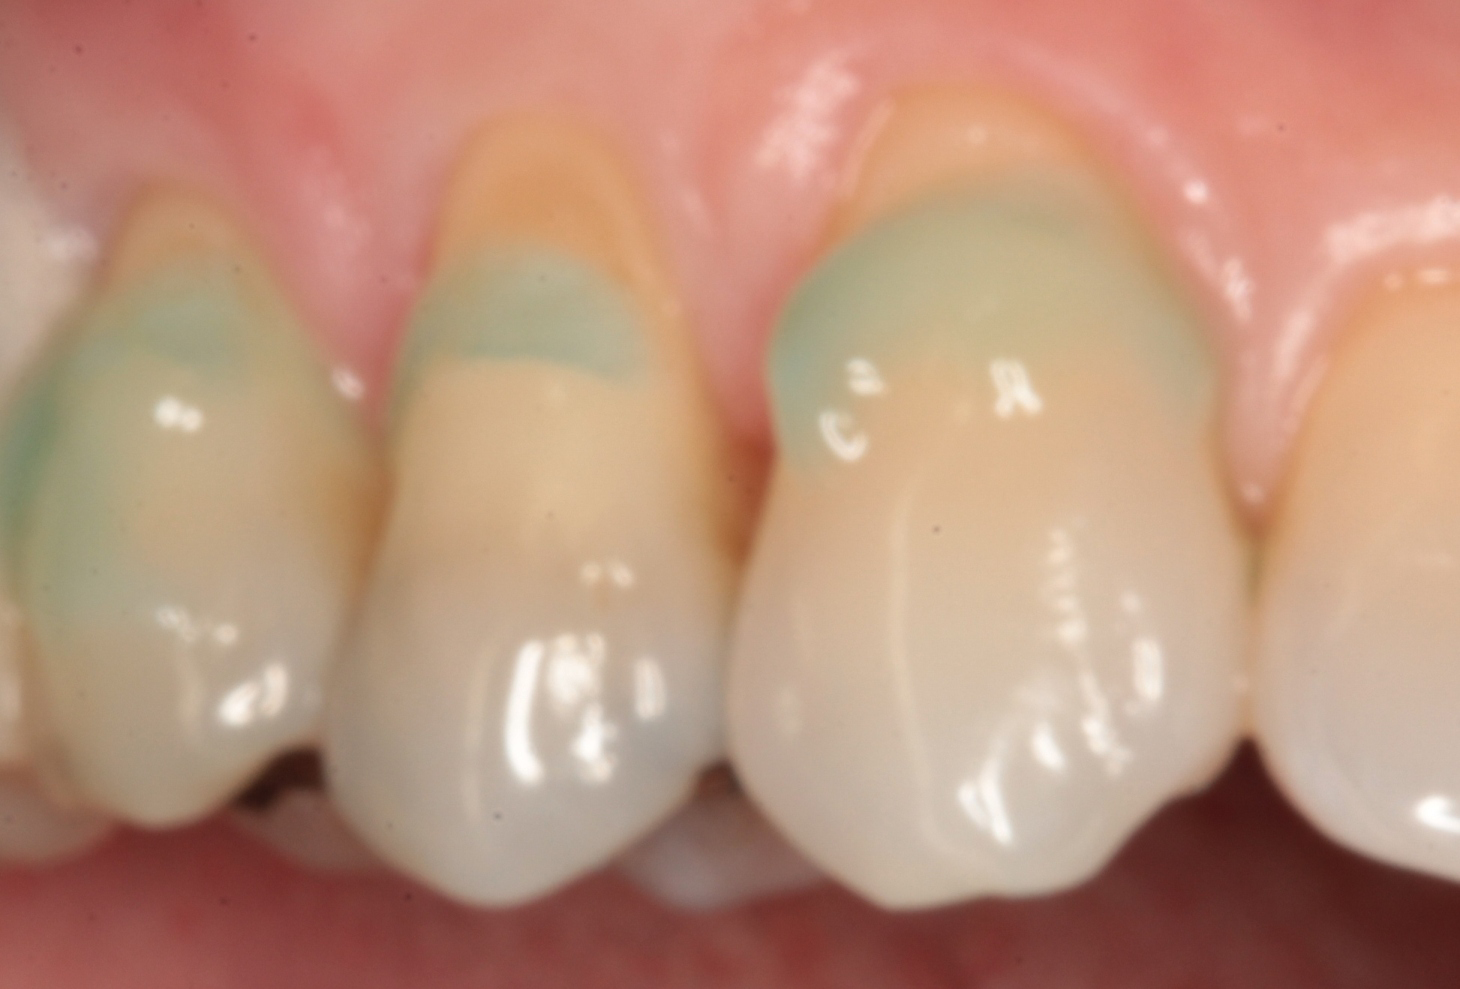
I used a small fine round diamond bur to slightly roughen the areas to be restored in order to remove the sclerotic layer on the dentin surface. Phosphoric acid etching gel was injected along the enamel margins (Fig. 2) and left in place for ten seconds (Fig. 3).
Fig. 2
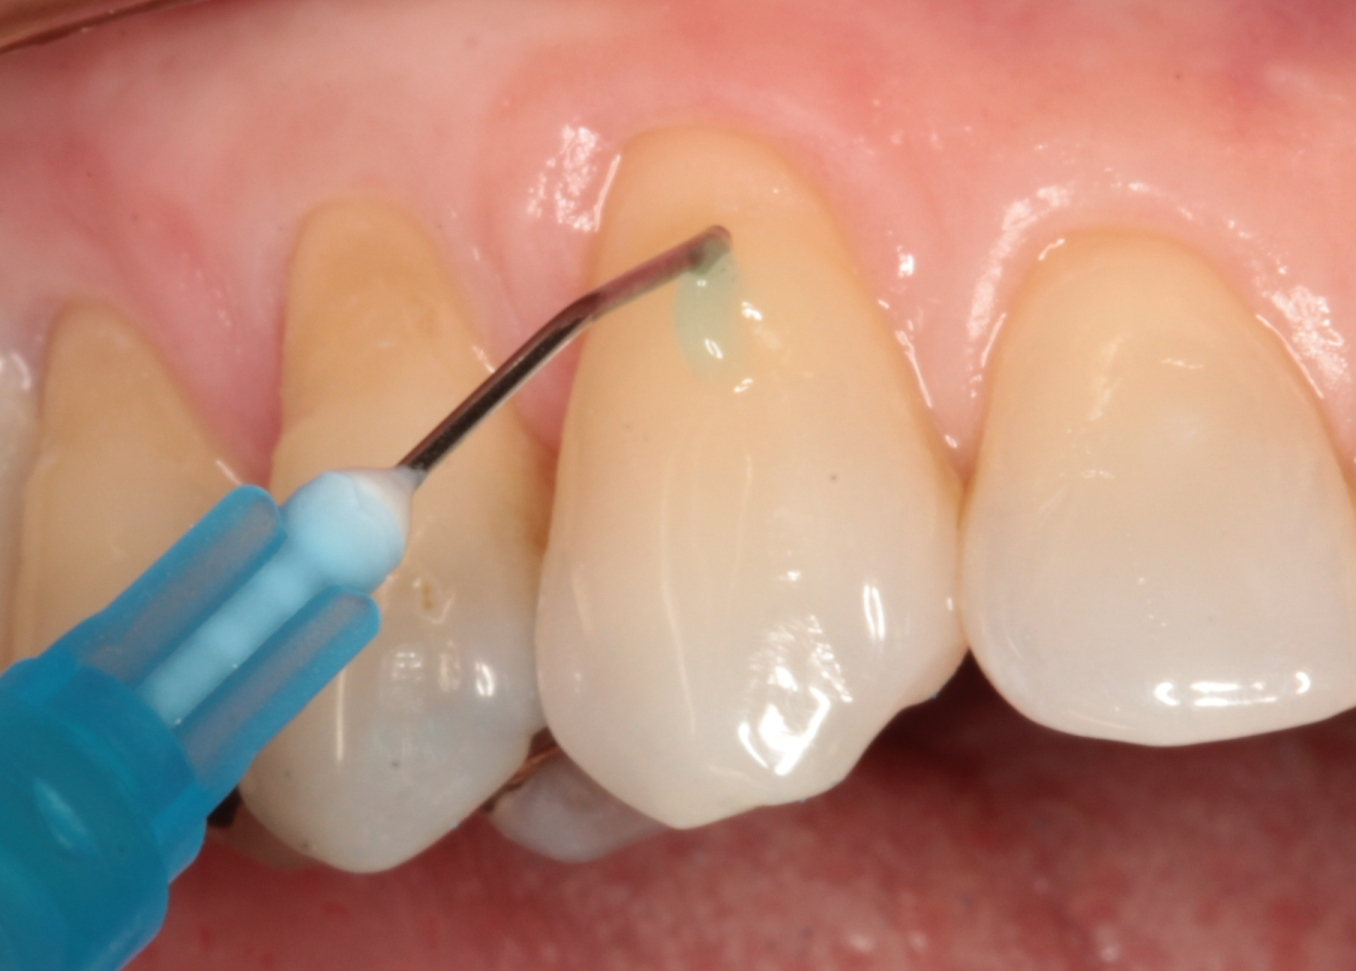
Fig. 3
Continue to the next page for the next step.


Step 3
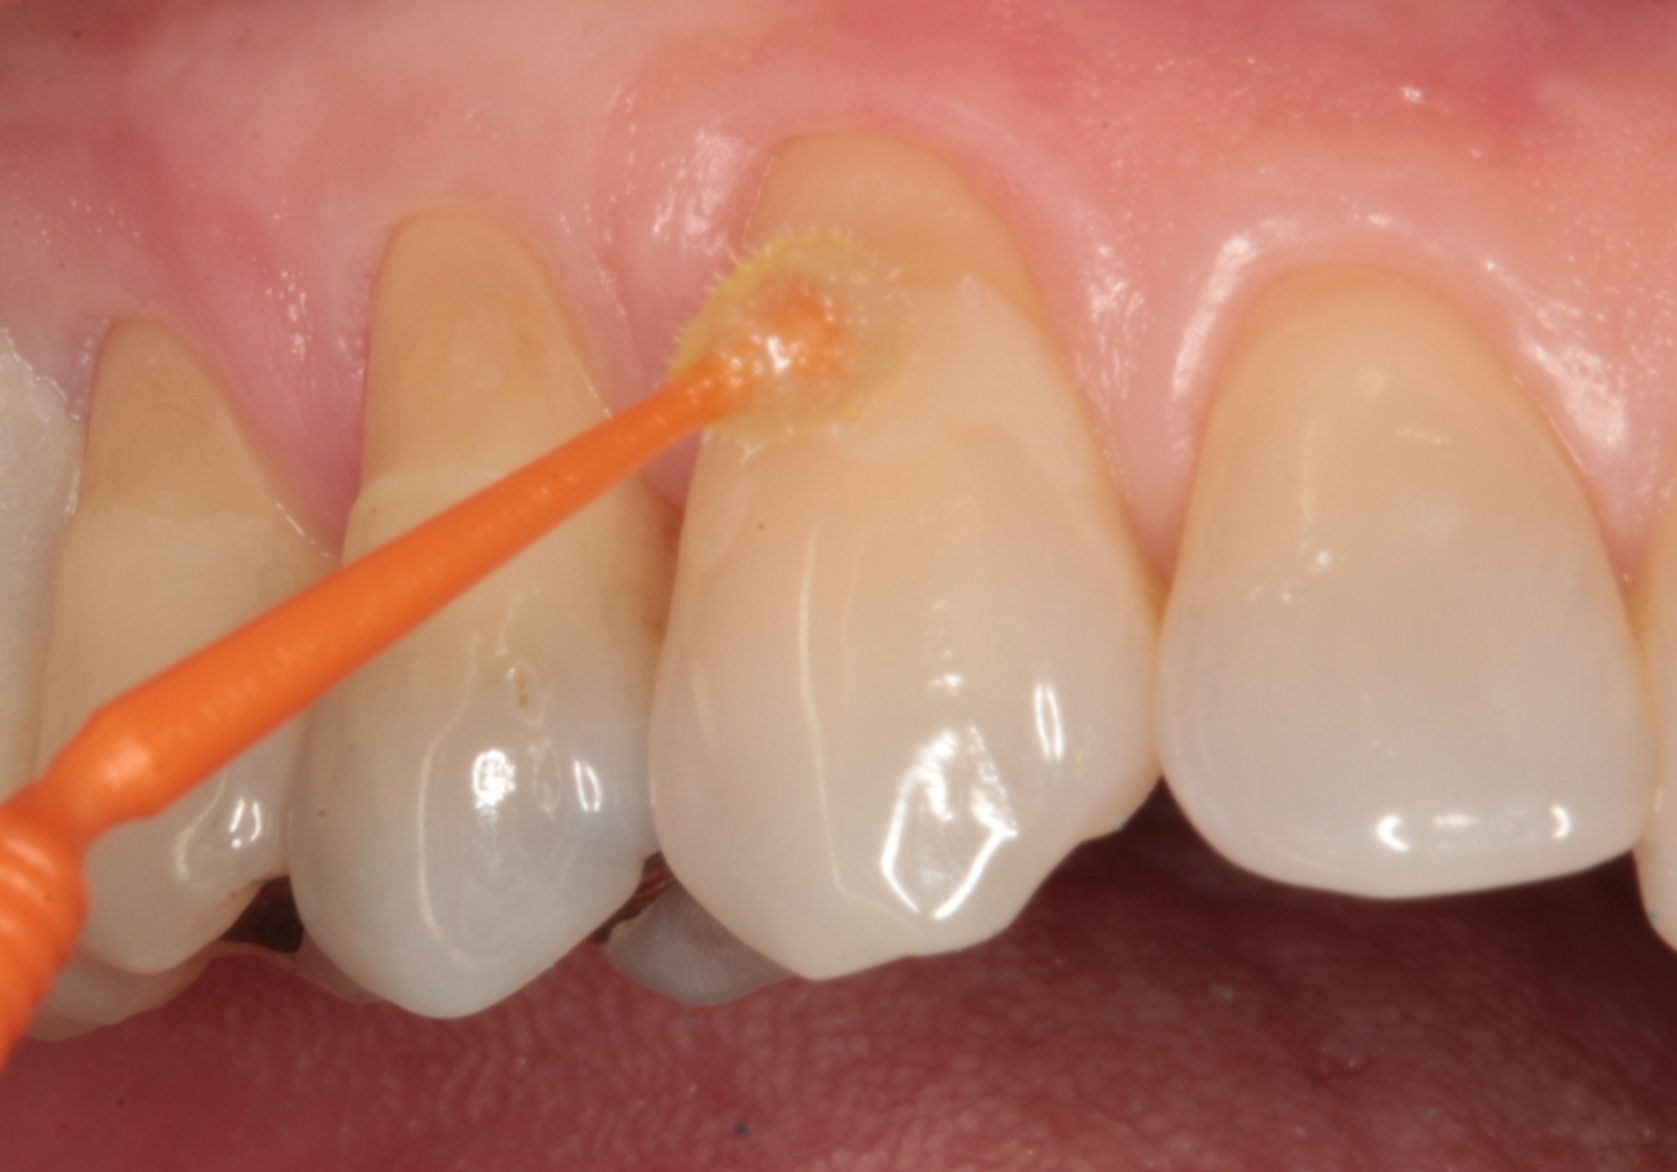
The etching gel was thoroughly rinsed with water from an air/water syringe (Fig. 4) and lightly air dried. I then applied a universal bonding agent (Brush and Bond, Parkell). The bonding agent was messaged in for ten seconds using an applicator tip (Fig. 5).
Fig. 4
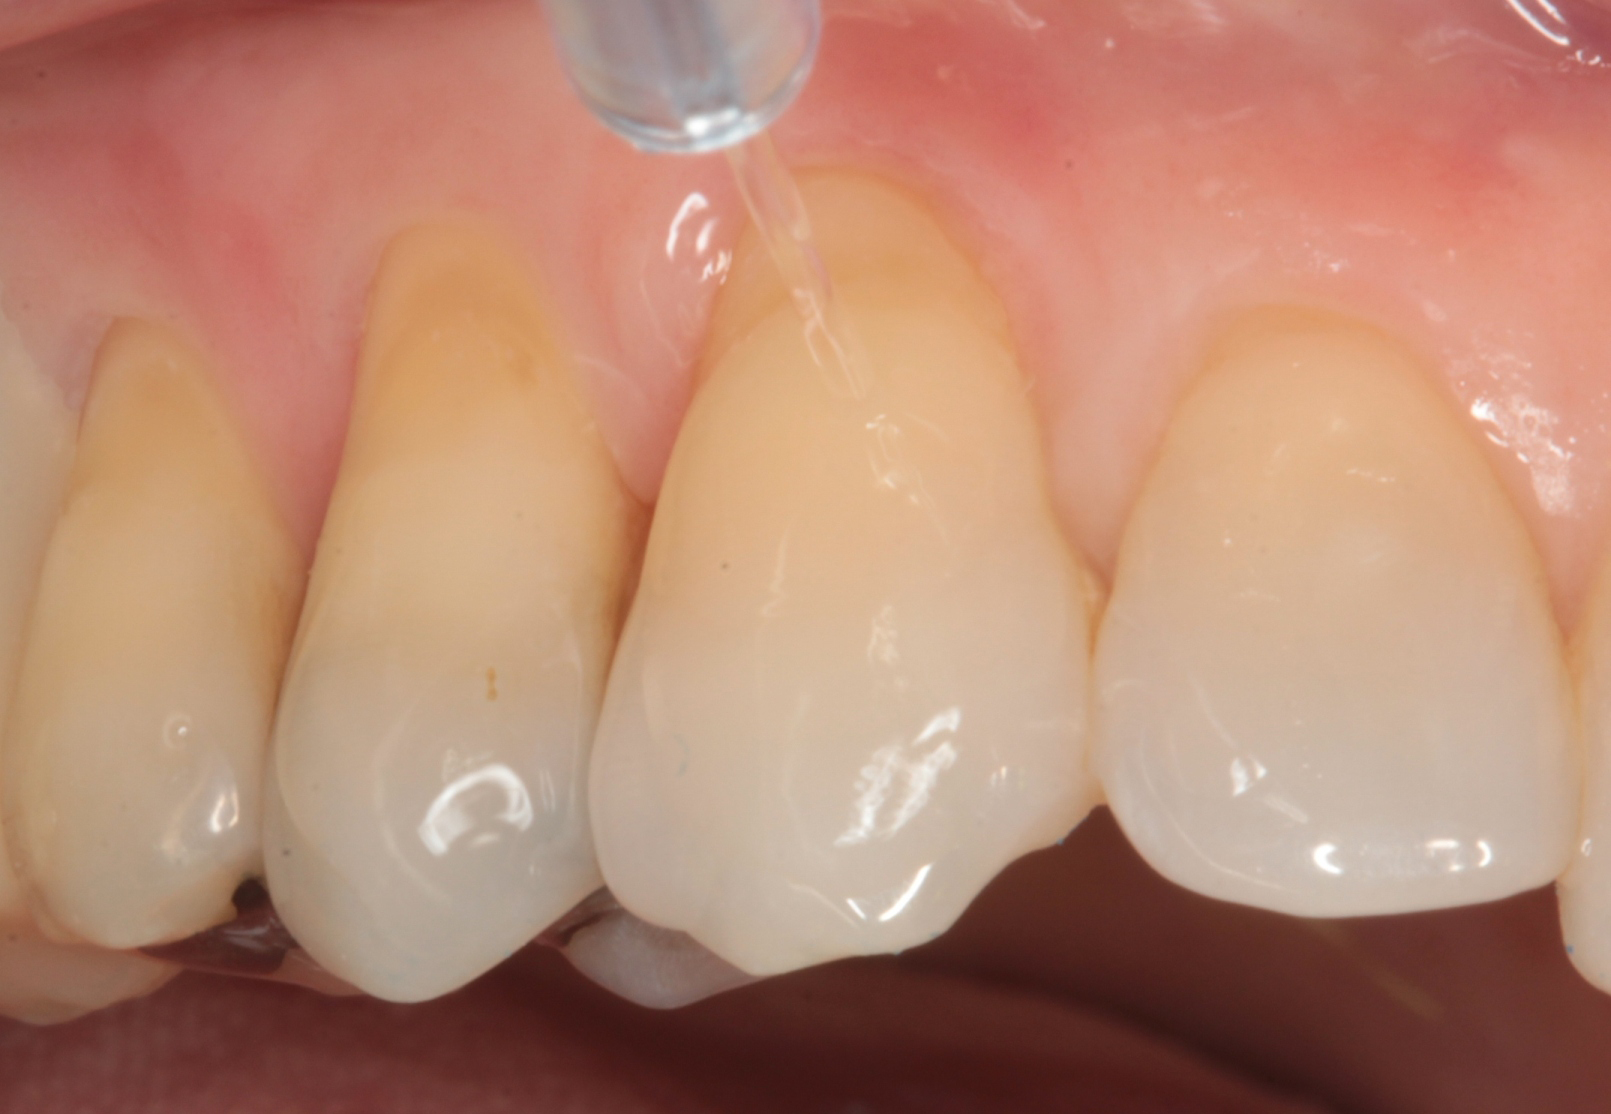
Fig. 5
Step 4
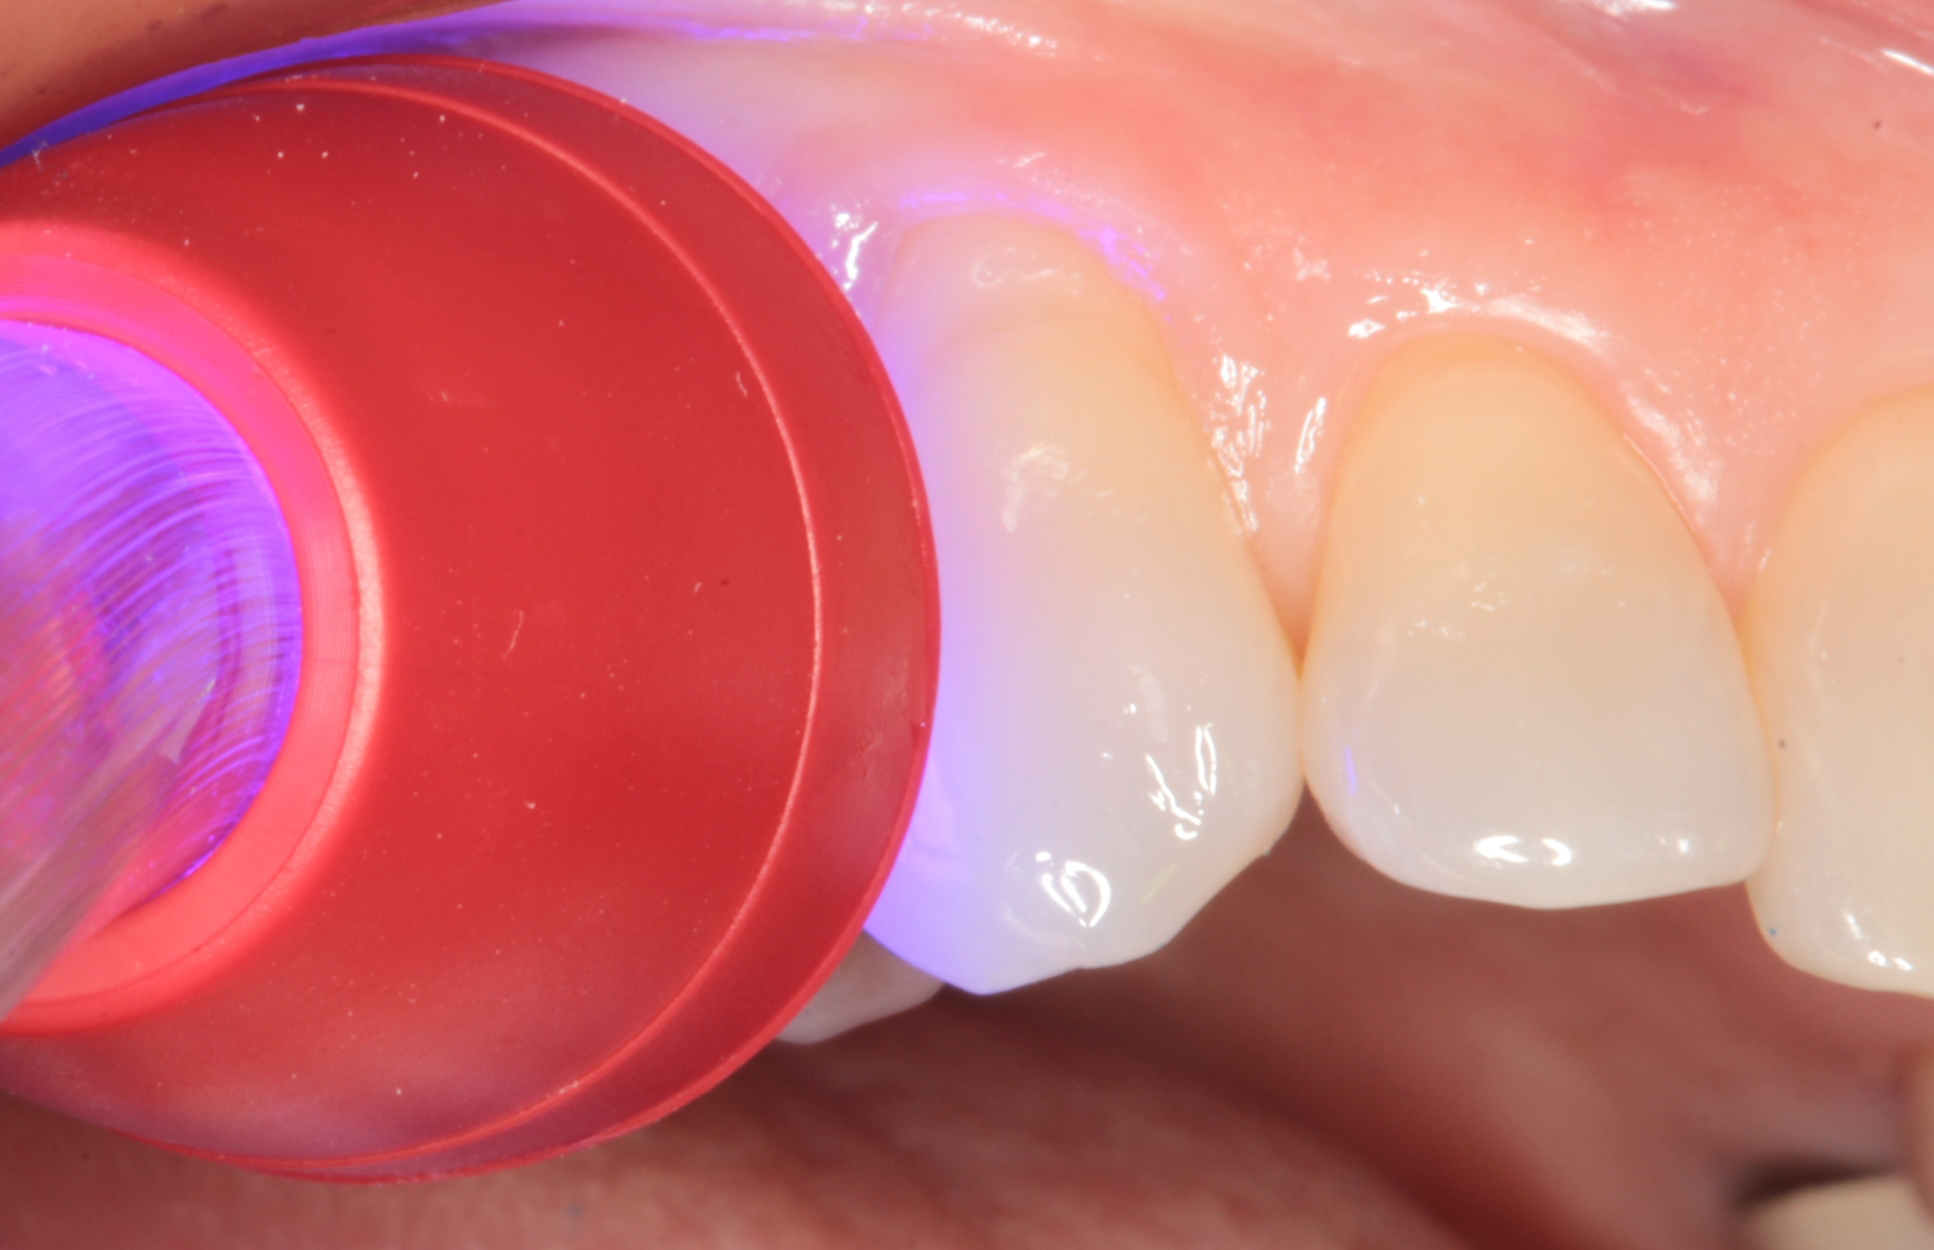
It was then air dried (Fig. 6) and light cured for ten seconds with a LED light curing unit (Fig. 7).
Fig. 6
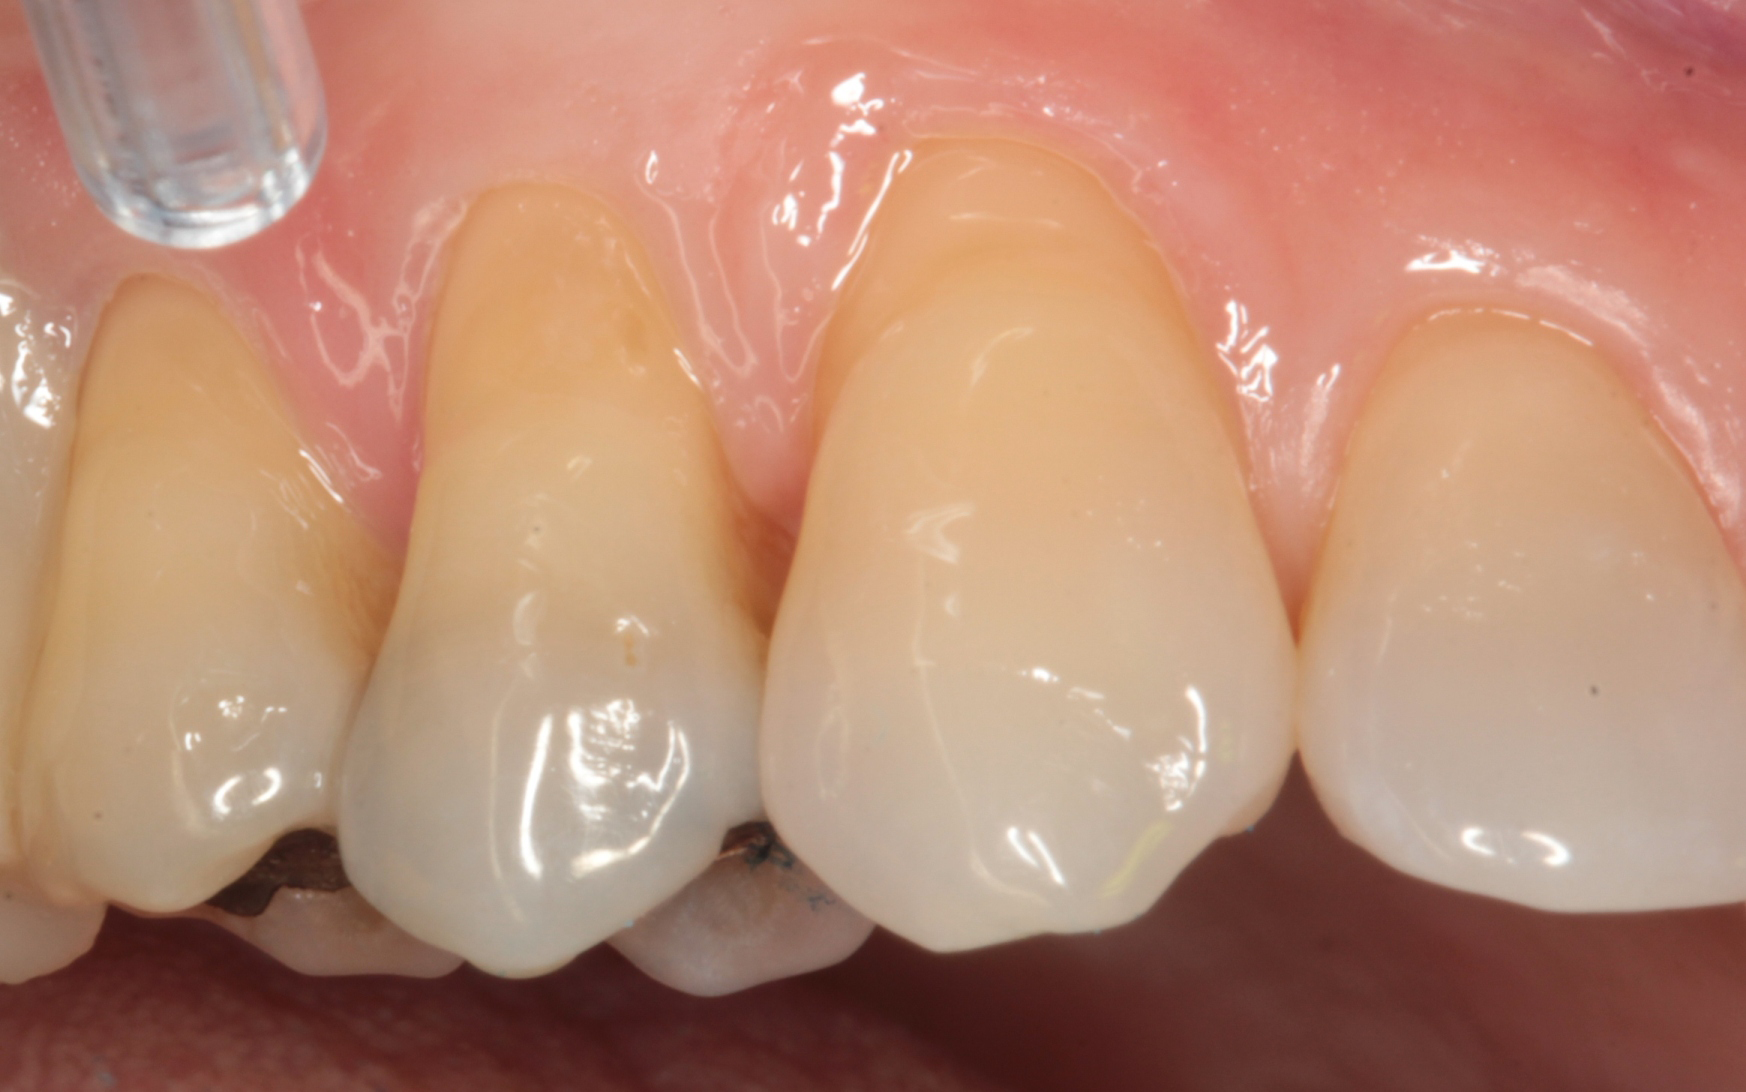
Fig. 7
Continue to the next page for the next steps...


Step 5
Fig. 8
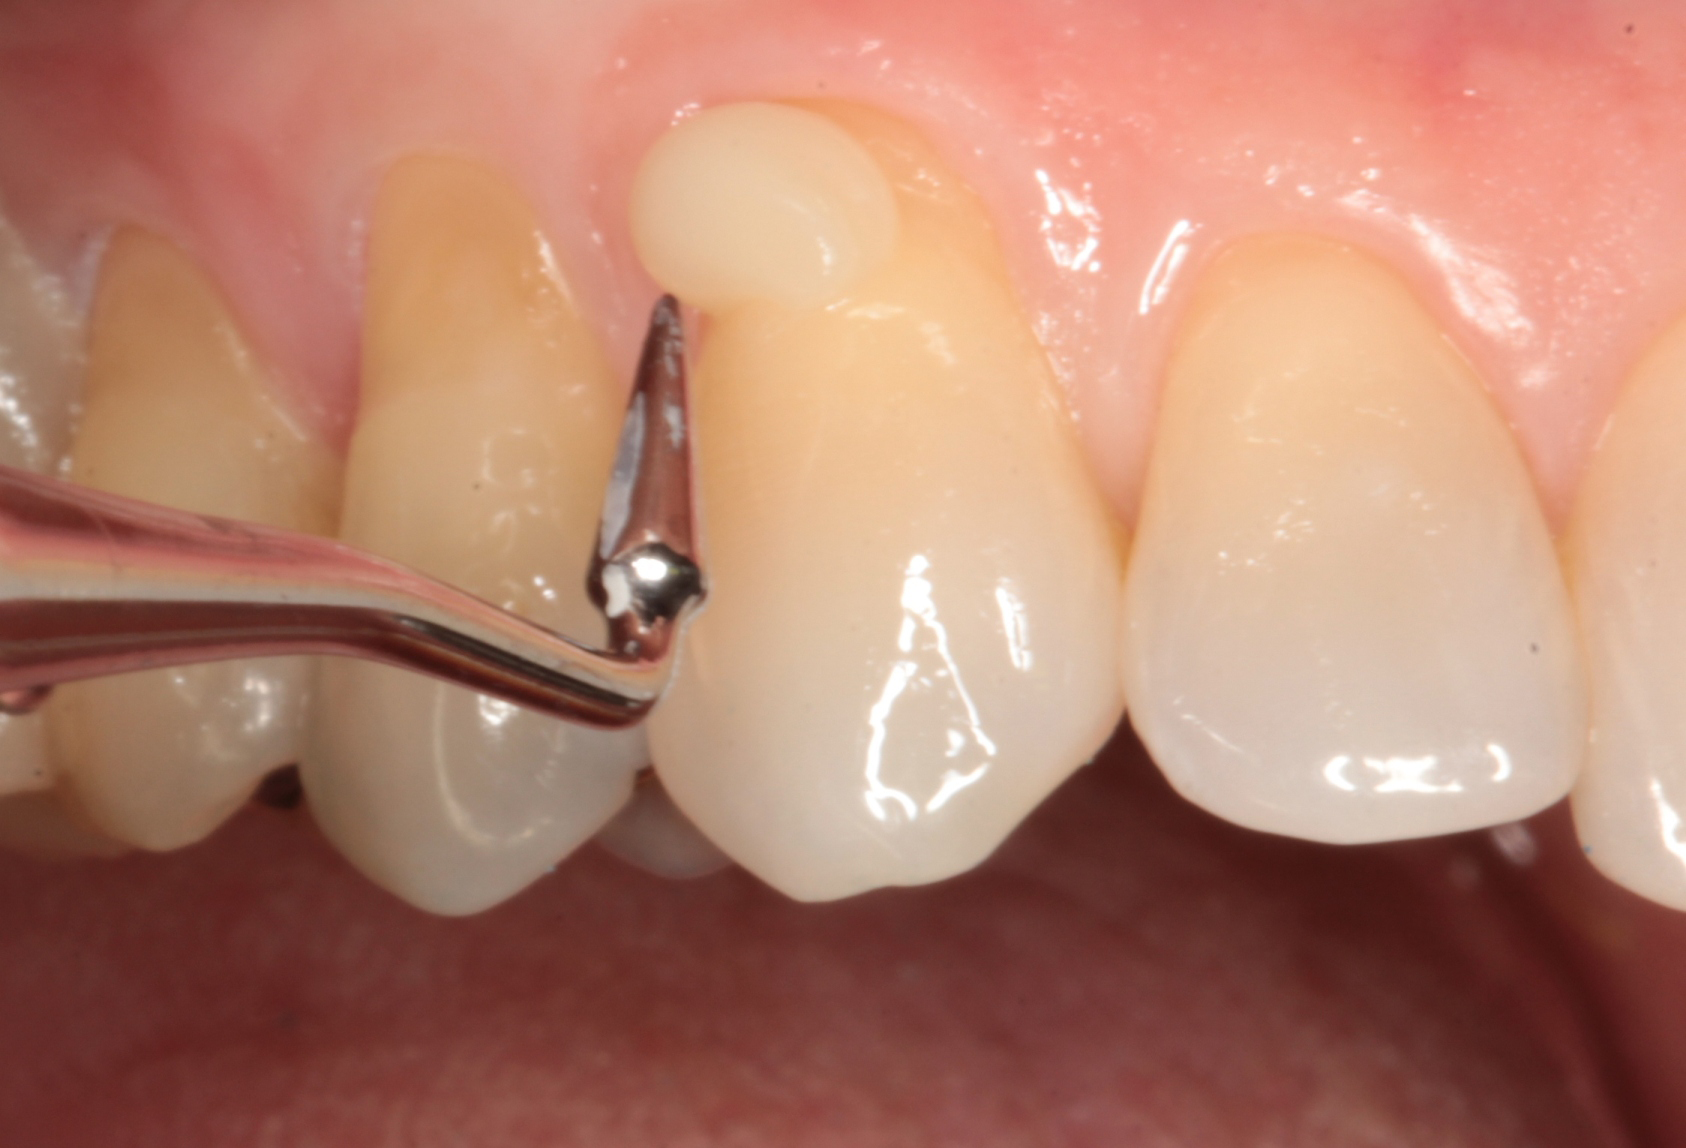
This is where the process gets to be fun! I took a small amount of EPIC-TMPT, rolled it into a ball and place it on the end of an instrument. I gently laid the material into the preparation (Fig. 8) and it almost “fell” into the shape of the preparation on its own.
Step 6
I used the instrument to lightly touch the material where I wanted it to flow more (Fig. 9). Even though the thixotropic nature of the material encourages it to flow, its viscosity allows it to stay in place. I applied the material in the same way to the other two teeth. Final placement of all three restorations is shown in Figure 10.
Fig. 9
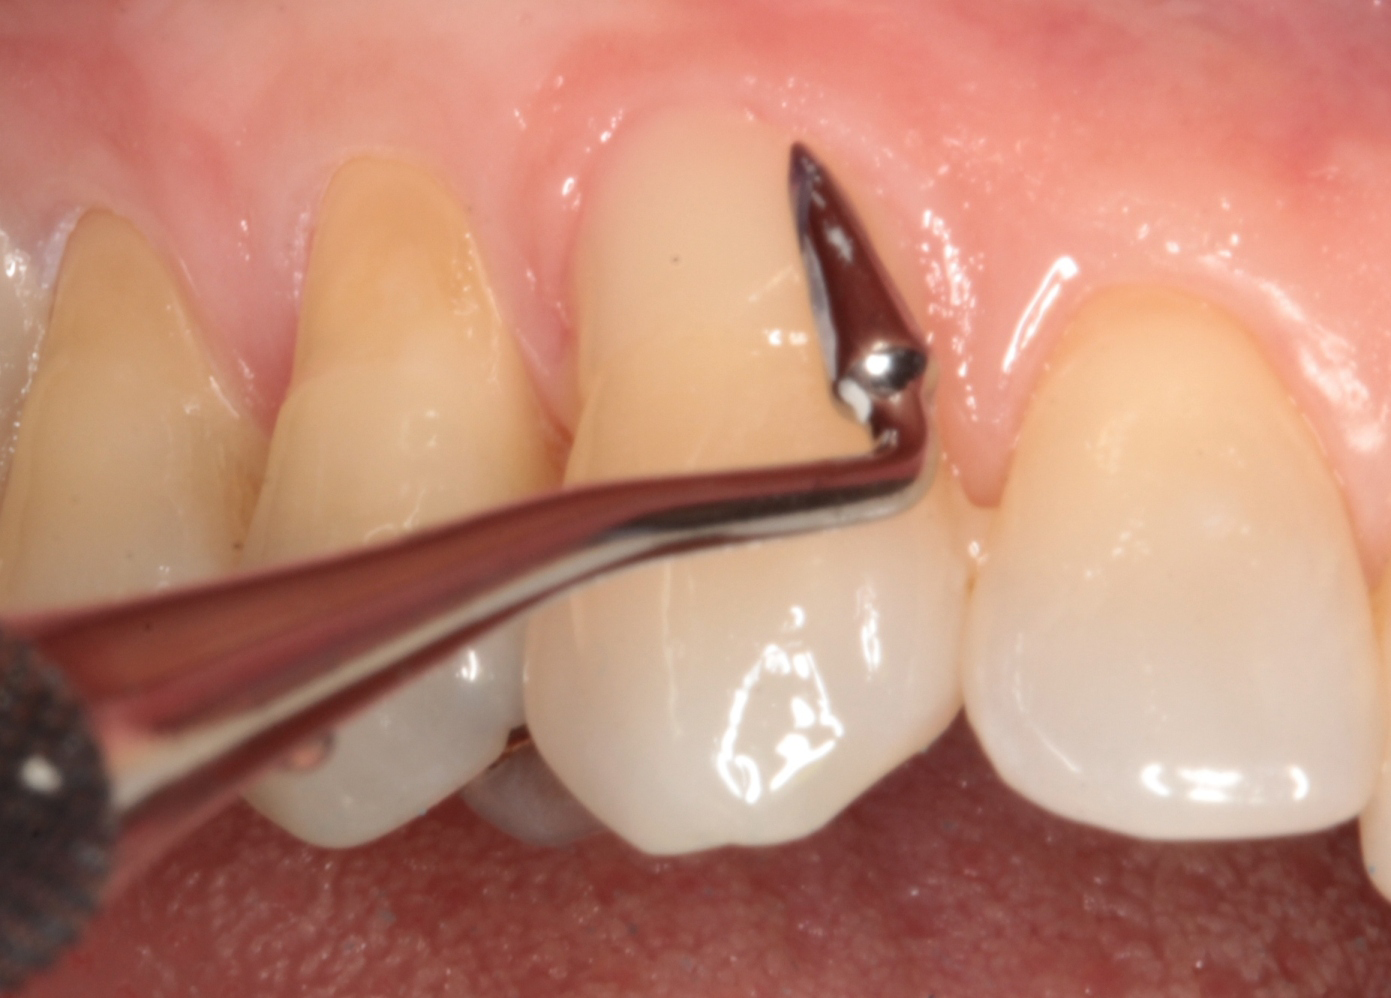
Fig. 10
Continue to the next page for the next steps...


Step 7
Fig. 11
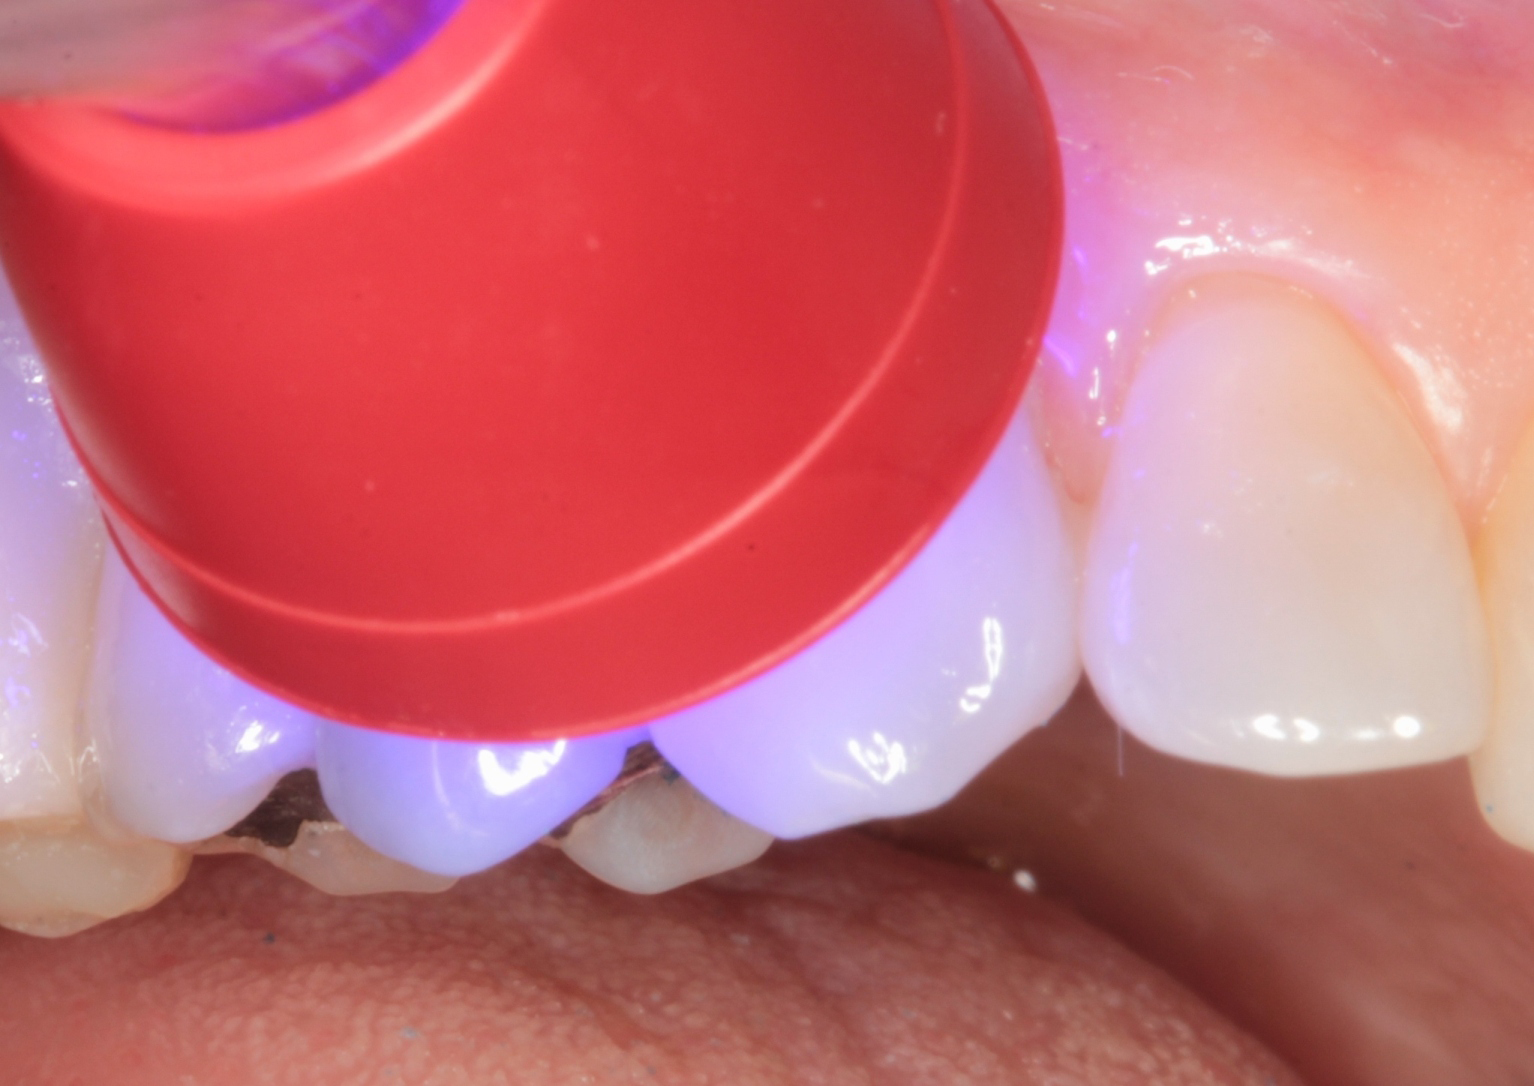
A LED light was used to cure the restorations for twenty seconds each (Fig. 11).
Step 8
Fig. 12
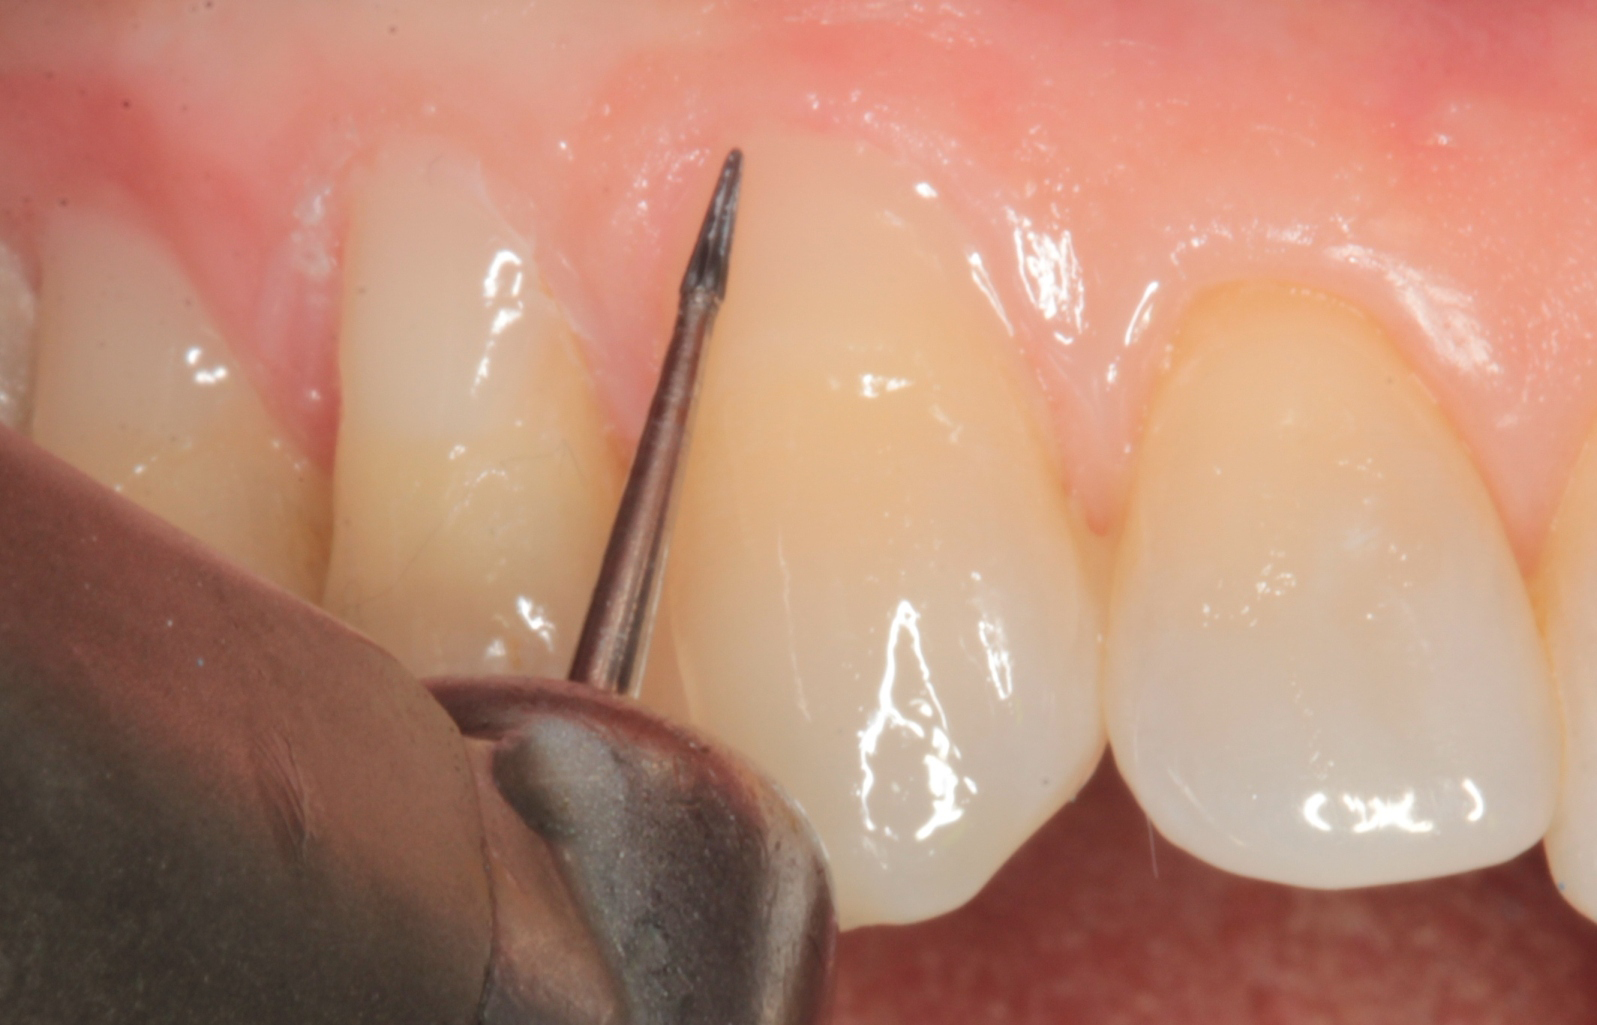
Finishing of the contours and margins was carried out with a small carbide finishing bur (Fig. 12).
Continue to the next page for the next steps...


Step 9
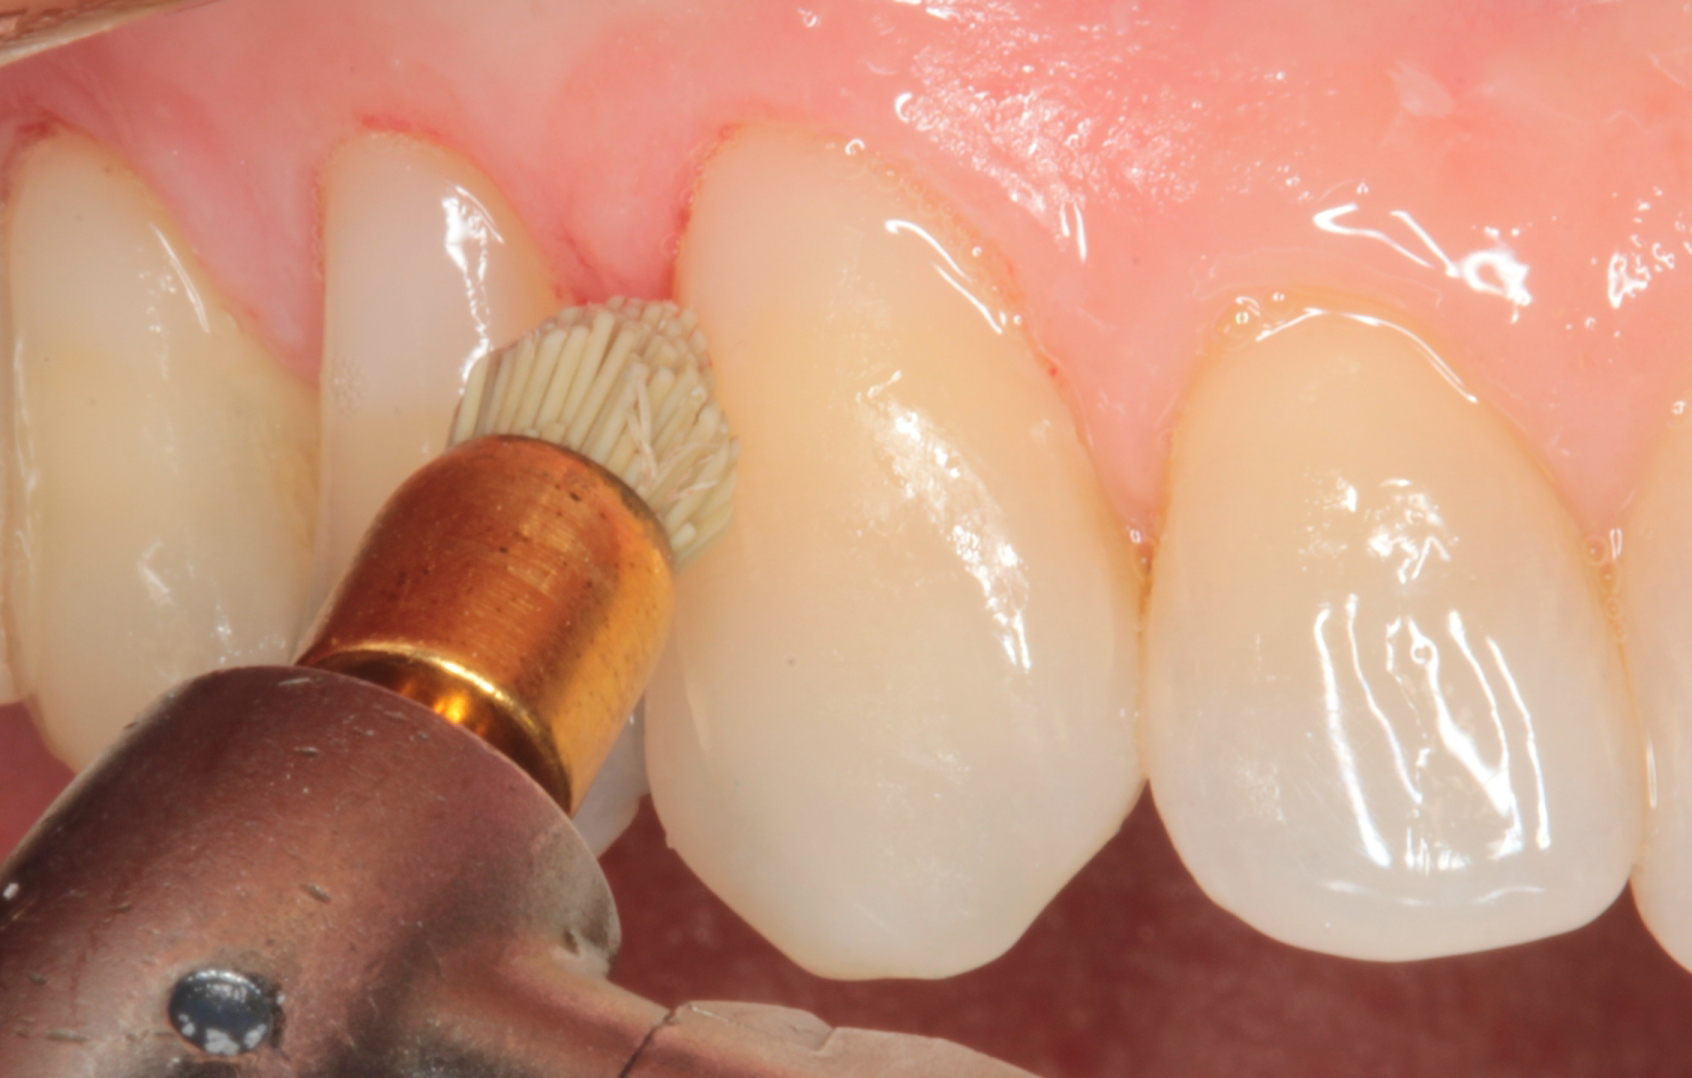
Smoothing of the composite surface was performed using an E2hance cup by Dentsply (Fig. 13) and polishing was accomplished with a diamond impregnated brush (Fig. 14).
Fig. 13
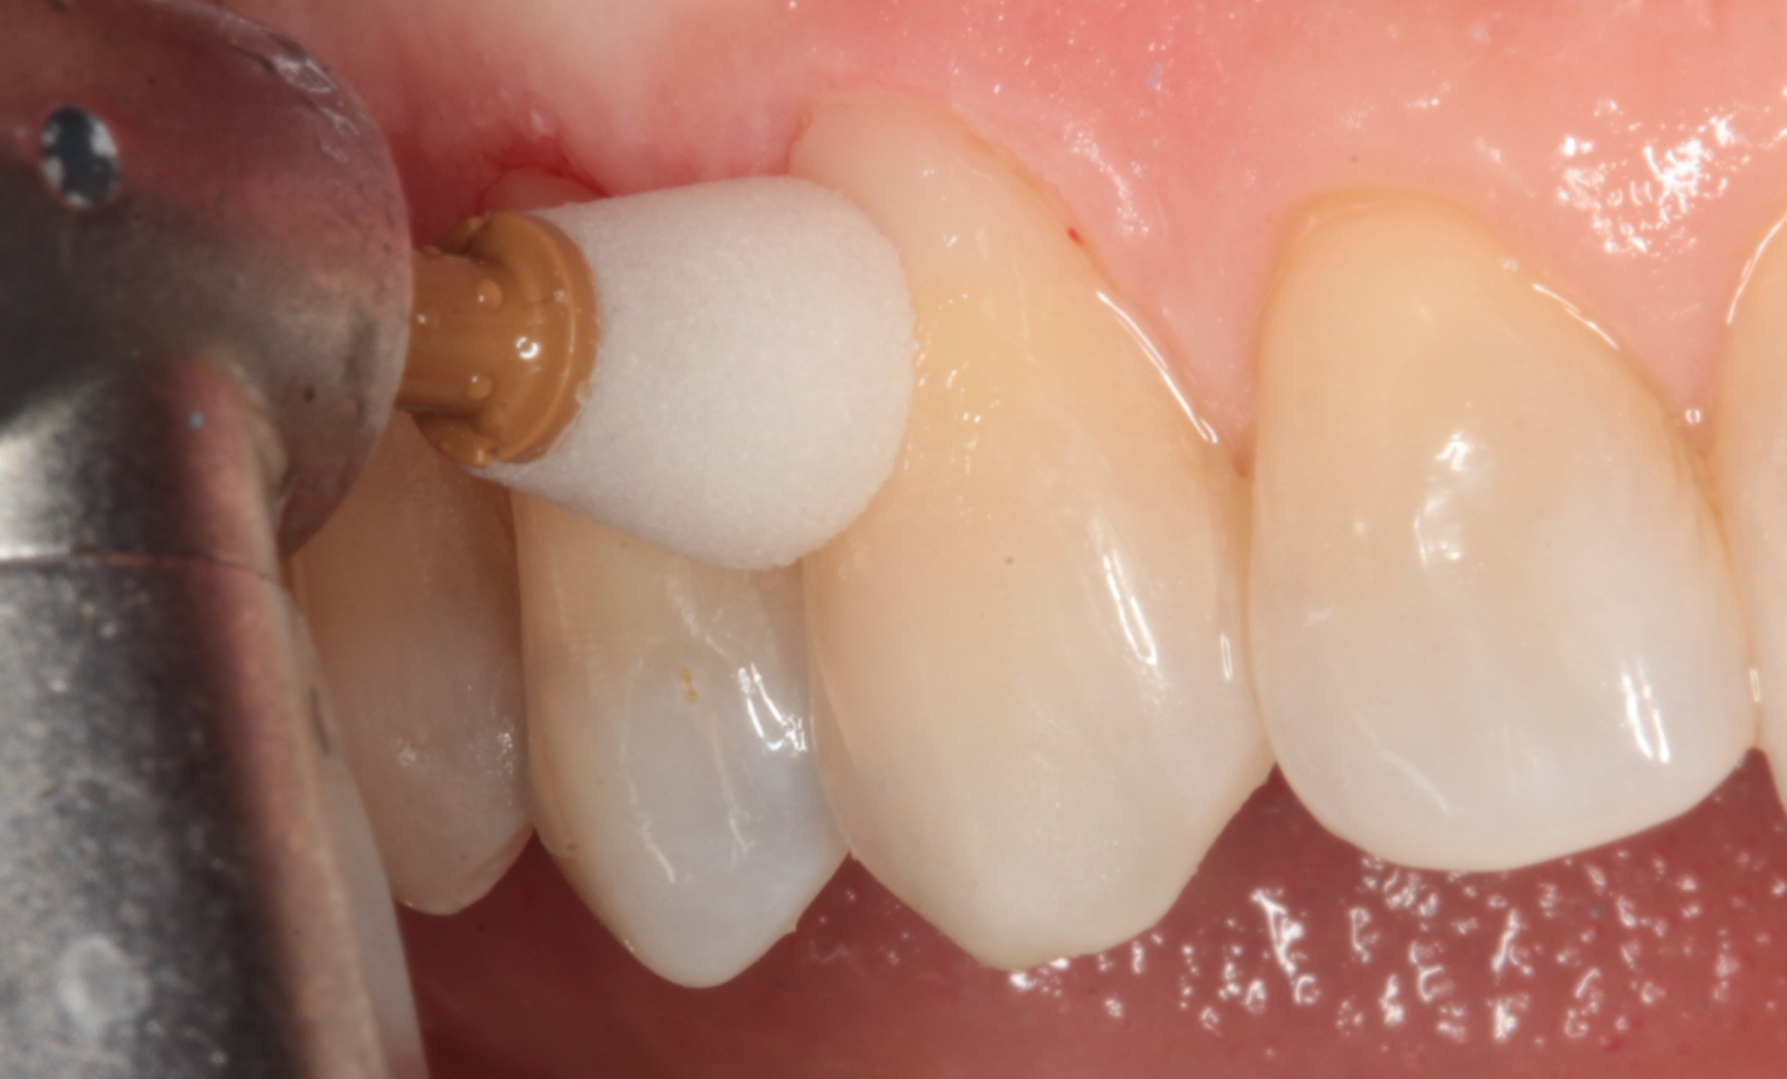
Fig. 14
Conclusion
Fig. 15
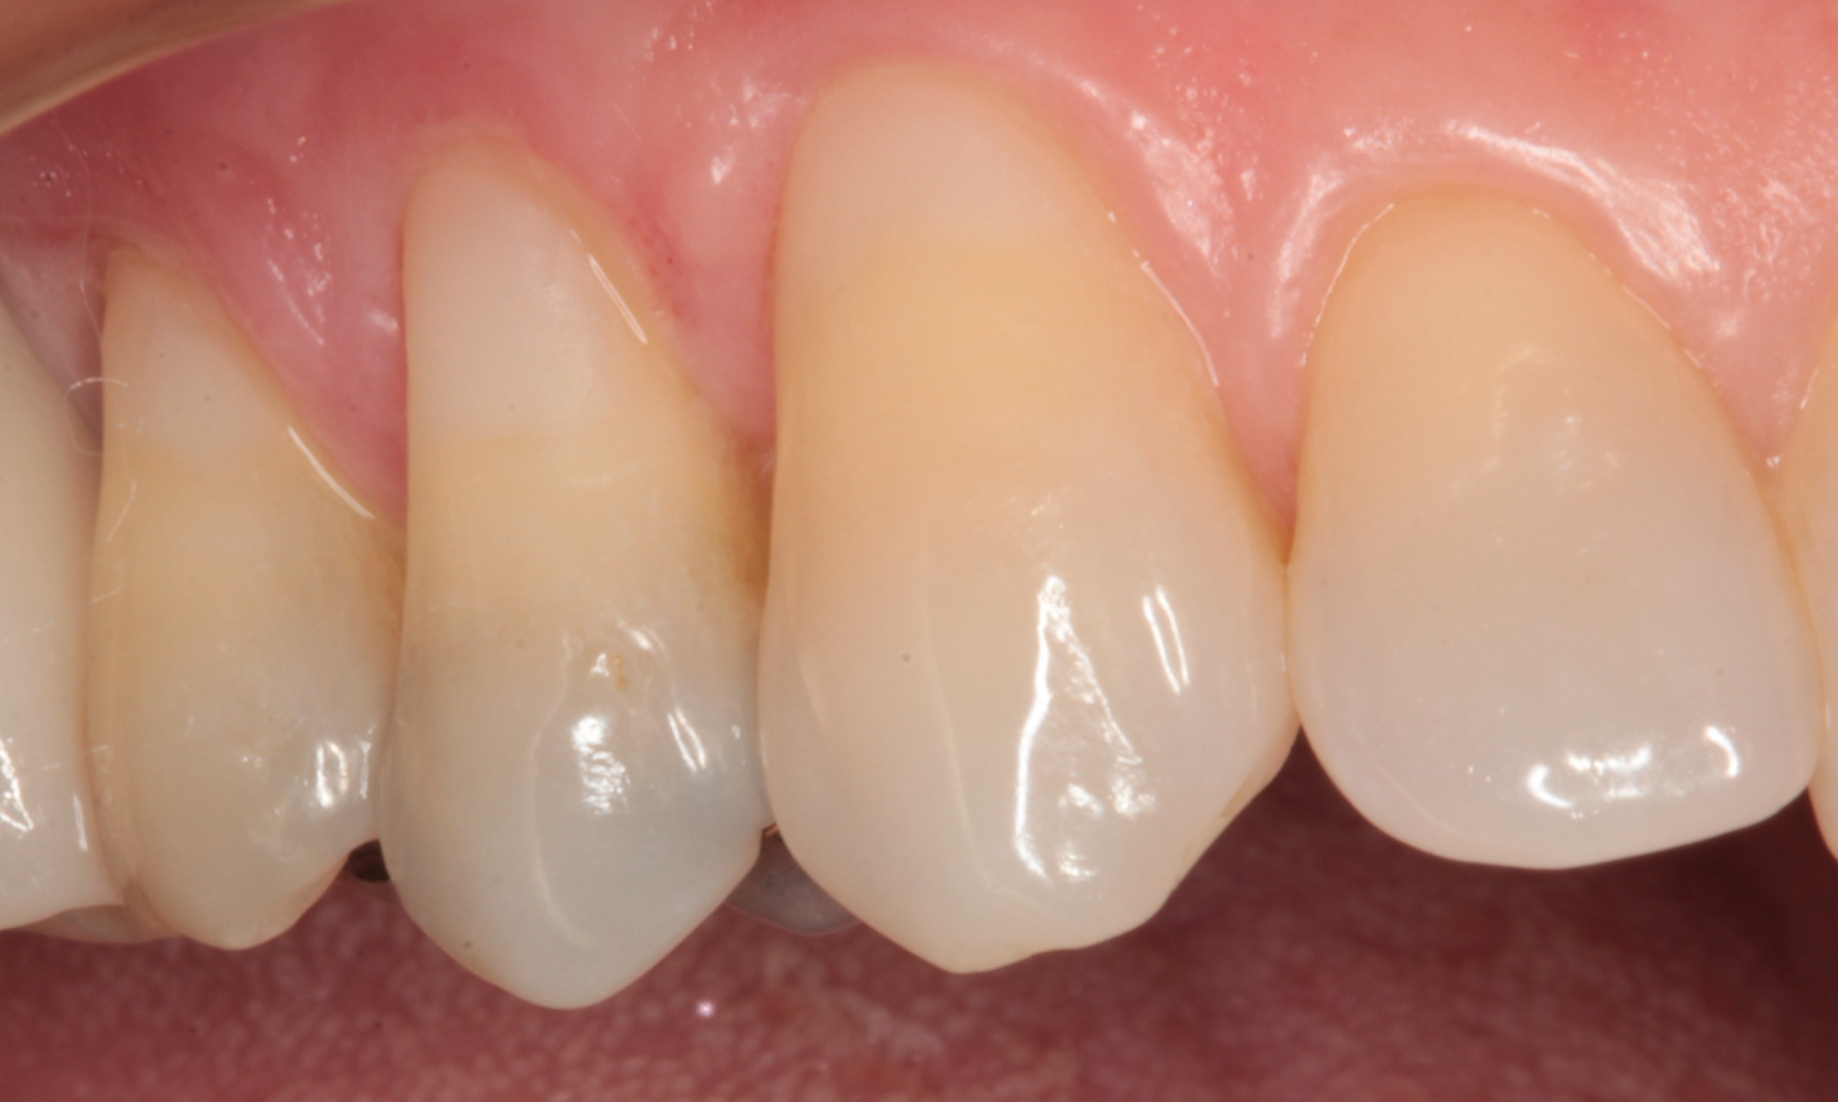
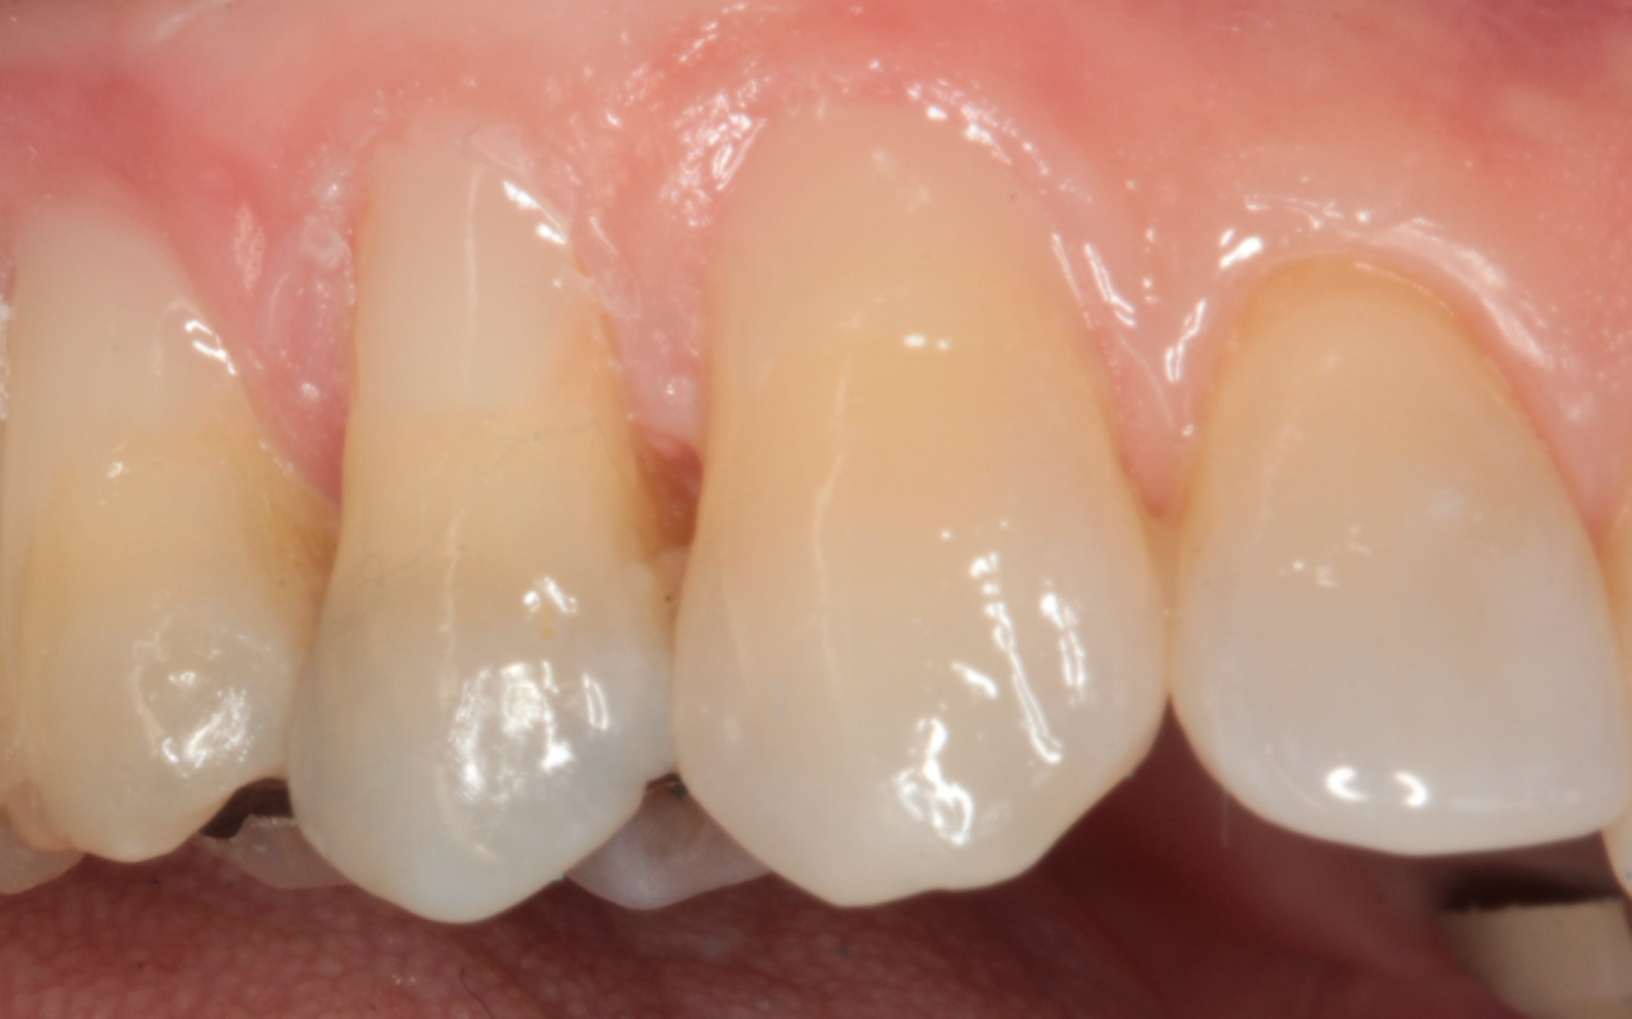
The final restorations can be seen in Figure 15. In this article I have illustrated a technique for restoring Class V lesions using EPIC-TMPT, a microfil composite resin by Parkell. With this material and technique I can restore these lesions quickly and predictably.

ACTIVA BioACTIVE Bulk Flow Marks Pulpdent’s First Major Product Release in 4 Years
December 12th 2024Next-generation bulk-fill dental restorative raises the standard of care for bulk-fill procedures by providing natural remineralization support, while also overcoming current bulk-fill limitations.