How to use GC Fuji PLUS for seating an anterior full-coverage zirconia crown restoration
How one clinician uses this resin-reinforced glass ionomer cement to ensure an optimal marginal seal.
When faced with providing patients with an indirect restoration, dentists take many factors into consideration when evaluating and selecting from today’s available cementation options. Depending on the restorative material used, underlying substrate (e.g., natural tooth, composite, or cast post and core) and characteristics of the preparation (e.g., subgingival margins, difficult to isolate margins), the selected cement can affect treatment longevity and oral health.
Considering the multiple challenges that could influence cementation success, resin-reinforced glass ionomer cements can provide reliability and predictable bond strengths when seating a variety of indirect restorations (e.g., zirconia, metal-ceramic, lithium disilicate, or full cast metal crowns). Not only are resin-reinforced glass ionomer cements easy to use, but they also demonstrate ideal handling characteristics that facilitate restoration placement and excess cement cleanup.
Trending article: The true science fiction of future dentistry
One resin-reinforced glass ionomer cement in particular, GC Fuji PLUS® (GC America), provides dentists with significantly higher bond strengths compared to conventional glass ionomer cements because it bonds both chemically and mechanically to tooth structure and core materials. However, it still maintains the favorable characteristics of glass ionomers, like fluoride release, low coefficient of thermal expansion, and biocompatibility with tooth structure and soft tissues.
Indicated for the cementation of metal-based and resin inlays, onlays, crowns and bridges, this resin-reinforced glass ionomer cement can also be used to cement all-ceramic inlays and high-strength, zirconia-based, all-ceramic crowns and bridges. The following case presentation describes the use of GC Fuji PLUS resin-reinforced glass ionomer cement in the treatment of a patient who required an anterior full-coverage porcelain-fused-to-zirconia restoration. Among the benefits realized by using this cementation option were ease of use and placement, extended working time, and predictable bond strengths to the underlying cast post and core.
Case presentation
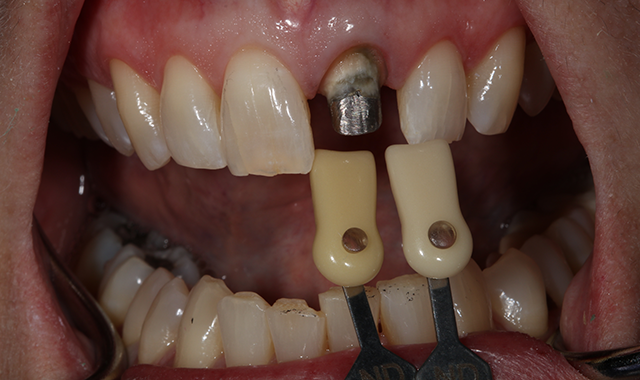
A 60-year-old female presented upon referral from her general dentist for prosthodontic treatment when she requested a new full-coverage crown restoration for tooth #9. She fractured the tooth participating in gymnastics as a child. The tooth was initially restored with composite resin, but when it became discolored, endodontic therapy followed by placement of a cast post, core and crown was performed. The ceramic on the mesial-incisal portion of the crown had fractured (Fig. 1), so the patient reported that it was finally time to replace it.
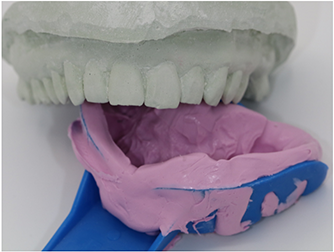
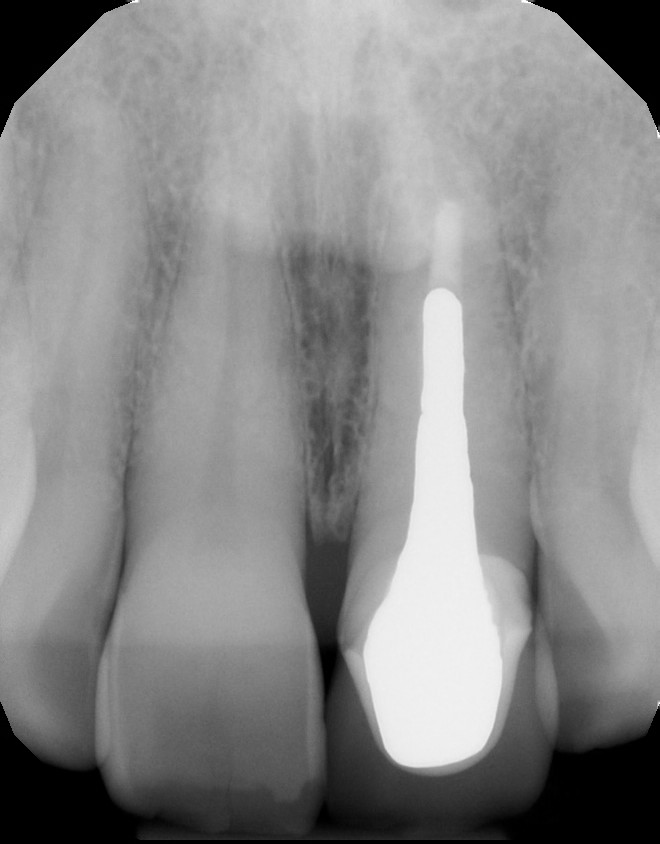
Fig. 1 Fig. 2
The patient also reported that she was never happy with the restoration, and she also was unhappy with the incisal chipping on tooth #8. Since she was about to embark on a new career, she wanted a smile she felt confident about.
A multitude of treatment options were discussed, including tooth whitening and placing a conservative veneer on tooth #8. The patient opted for the most minimally invasive approach, which included placing direct composite bonding on the incisal edge of tooth #8 and a new full-coverage crown restoration on tooth #9.
Read more: How to use a universal nano-hybrid composite to restore a reattached tooth fragment
The comprehensive oral examination, which included radiographs, revealed nothing that would contraindicate this treatment plan (Fig. 2). In fact, the previous endodontic treatment was acceptable, and the post was well-adapted to the tooth. The risks and benefits of removing the post were discussed with an endodontist and ultimately the patient, and it was decided to leave the existing cast post and core in place. However, doing so would create prosthetic challenges, including identifying a material that offered an esthetic outcome while blocking out the dark-colored post and core. For this reason, a full-coverage crown fabricated from zirconia was recommended and accepted by the patient.
Clinical protocol
A preoperative impression was taken and a wax-up was made, after which a silicone matrix (Sil-Tech, Ivoclar Vivadent) was made from the wax-up for use in creating a direct provisional restoration. The old crown restoration was sectioned off, and the preparation was refined using a series of preparation burs (Dr. Robert Winter Restorative Design Bur Block, Brasseler USA). Final impressions were then taken using a vinyl polyether silicone (VPS) impression material that demonstrates intrinsic hydrophilicity and optimal flow and tear strength (EXAl’ence™, GC America) (Fig. 3). Stumpf shades were taken using a stumpf shade guide (Ivoclar Vivadent) (Fig. 4), and the tooth shade for fabricating the restoration was determined using a standard VITA shade guide and VITA 3D-Master Shade Guide against the adjacent natural tooth #8 (Figs. 5 and 6).
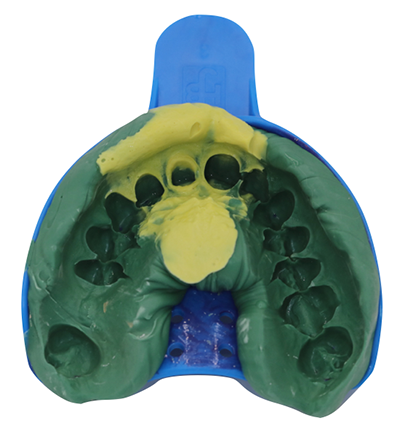
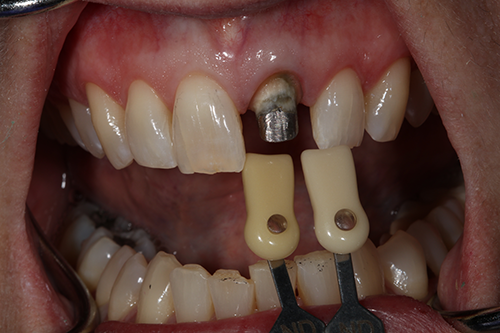
Fig. 3 Fig. 4
Continue to page two to read more...
Provisionalization
The previously made silicone matrix was loaded with a dual-cured bis-acryl provisional material (TEMPSMART®, GC America) and placed over the preparation. The material was allowed to set, after which the matrix and provisional were removed from the mouth.
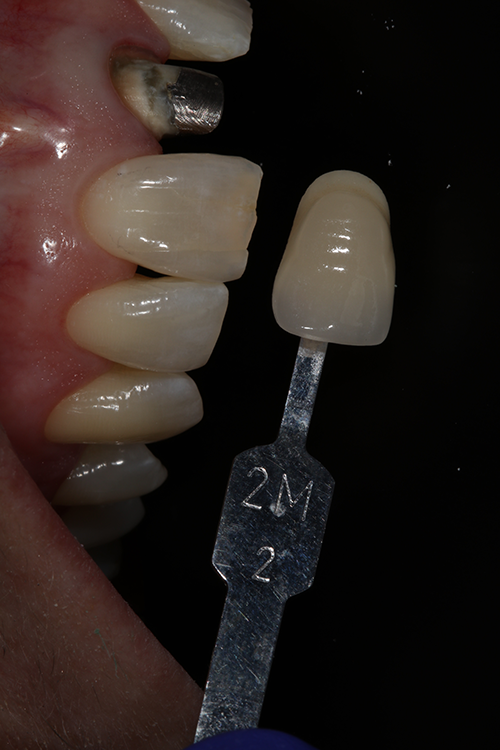
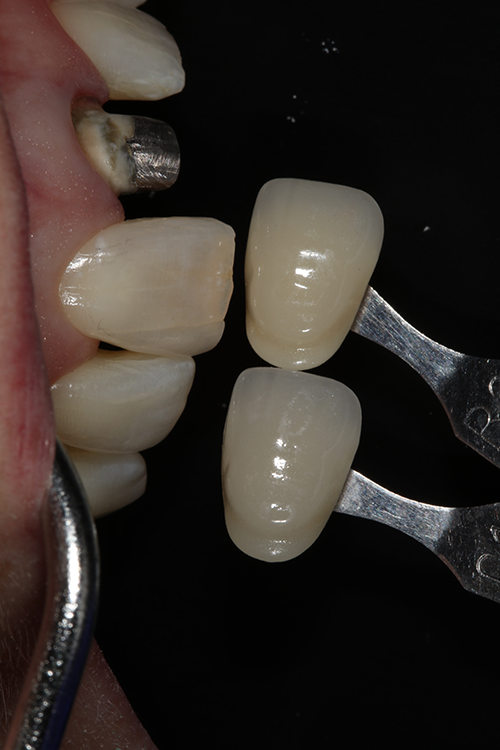
Fig. 5 Fig. 6
The provisional was trimmed, after which the color and shade were customized using a light-cured characterization composite for direct acrylic restorations (OPTIGLAZE™ Color, GC America), and then light-cured. The provisional was polished, loaded with a non-eugenol, zinc-oxide provisional cement (GC TEMP ADVANTAGE®, GC America), and seated onto the preparation for tooth #9 (Fig. 7).
Trending article: What you NEED to know about single-use instruments
Excess provisional cement was cleaned from the margin areas and the provisional was allowed to set. The occlusion was verified and the patient was dismissed.
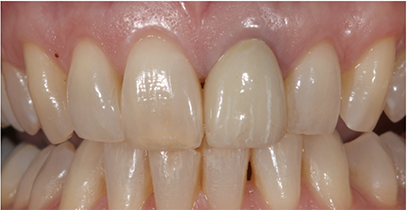
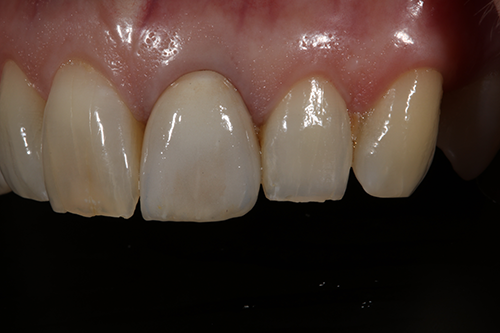
Fig. 7 Fig. 8
Final delivery and cementation
At the delivery appointment, the provisional restoration was removed and the preparation air abraded with 27-micron aluminum oxide (Groman Dental). The zirconia crown was tried in to verify fit, contacts and esthetics, and the patient approved the restoration (Fig. 8). The patient was satisfied with the esthetic outcome and consented to permanent cementation of the restoration.
The internal aspect of the crown was cleaned with Ivoclean (Ivoclar Vivadent) and then immersed in alcohol and placed in an ultrasonic cleaning unit for five minutes. It was then rinsed, dried and set aside.
The preparation was then conditioned for 10 seconds using 20% polyacrylic acid (GC CAVITY CONDITIONER, GC America) to remove the smear layer and debris, ensure enhanced bonding to the glass ionomer cement, and if this tooth was not treated endodontically, it would have had the additional benefit of eliminating or reducing sensitivity based on its 3% aluminum chloride hexahydrate component (Fig. 9). The preparation was then rinsed and blotted dry.
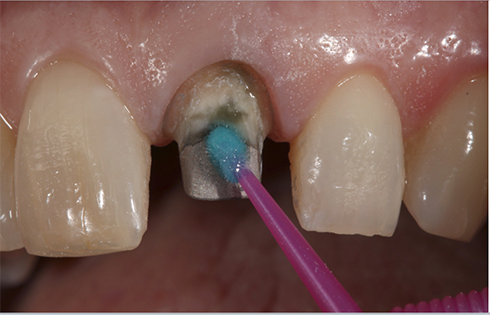
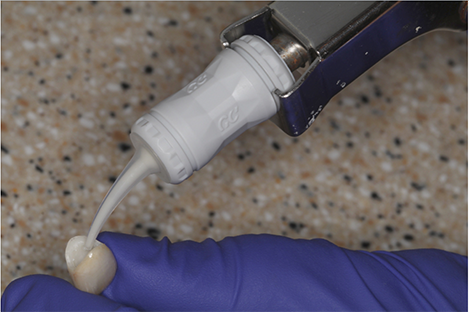
Fig. 9 Fig. 10
A resin-reinforced glass ionomer cement (GC Fuji PLUS, GC America) was then prepared by activating the capsule with the dispensing gun and placed in the triturator for 10 seconds. The internal aspect of the restoration was then coated liberally with cement (Fig. 10), after which the restoration was immediately seated onto the preparation while maintaining moderate pressure (Fig. 11).
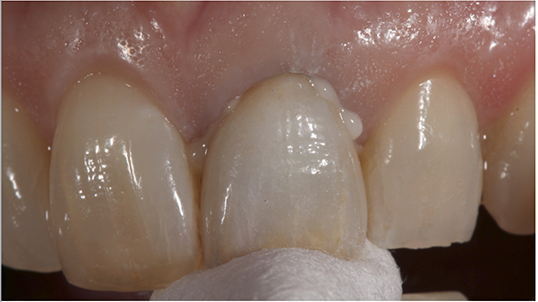
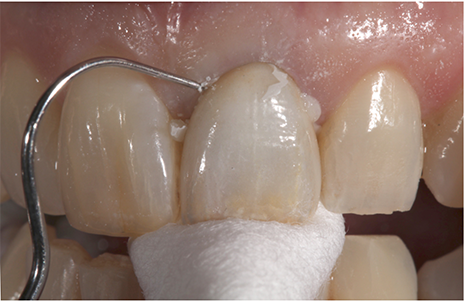
Fig. 11 Fig. 12
The cement was allowed to set for four-and-a-half minutes. However, once the resin-reinforced glass ionomer cement (GC Fuji PLUS) demonstrated a rubbery feel, excess was removed from the margin areas and restoration surfaces (Fig. 12). The restoration was then finished and polished (Fig. 13).
Read more: How to achieve esthetic results with direct composites
Conclusion
Fig. 13
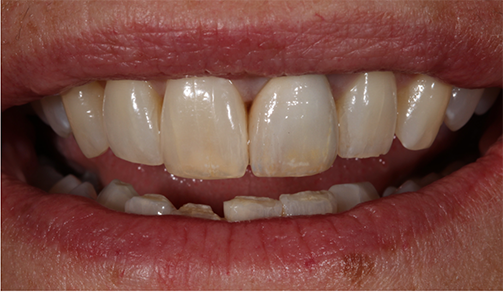
The use of a resin-reinforced glass ionomer cement (GC Fuji PLUS) for this case provided an easy-to-use and place, biocompatible and clinically insoluble cementation option to ensure an optimal marginal seal and integrity.
The cement’s ability to ionically bond to the underlying cast post and core promoted confidence in the long-term prognosis for the definitive treatment. Additionally, its extremely low film thickness contributed to accurate and passive seating of the restoration and helped to maintain proper occlusion.